|
HACHETTE PARTWORKS - BUILD YOU OWN ROUTEMASTER |
||
|
|
|
|
|
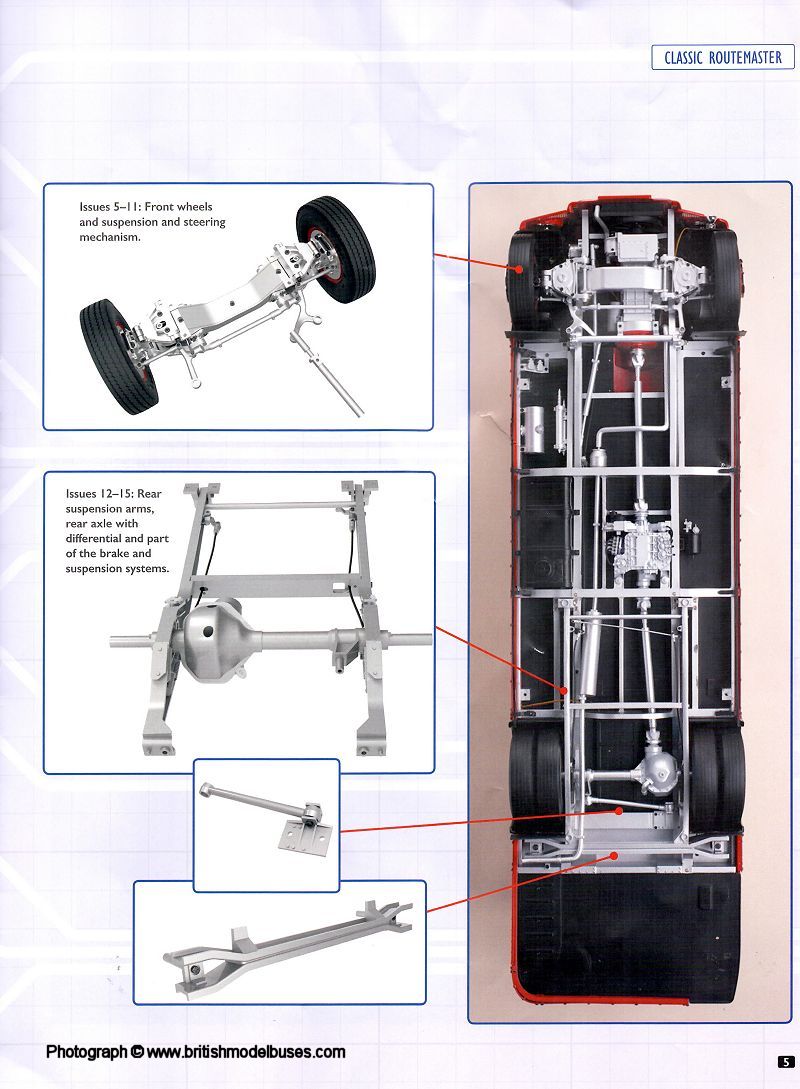
ISSUES ELEVEN TO TWENTY |
||
|
HACHETTE PARTWORKS - BUILD YOU OWN ROUTEMASTER |
||
|
|
|
|
|
ISSUES ELEVEN TO TWENTY |
||
| TO RETURN TO THE MAIN INDEX CLICK HERE |
|
Photographs taken by me of the magazine pages are purely to illustrate the build stages, so that the entire project can be followed from the start to the completed model in issue order. The copyright of Hachette Partworks is acknowledged. |
|

|
|
|
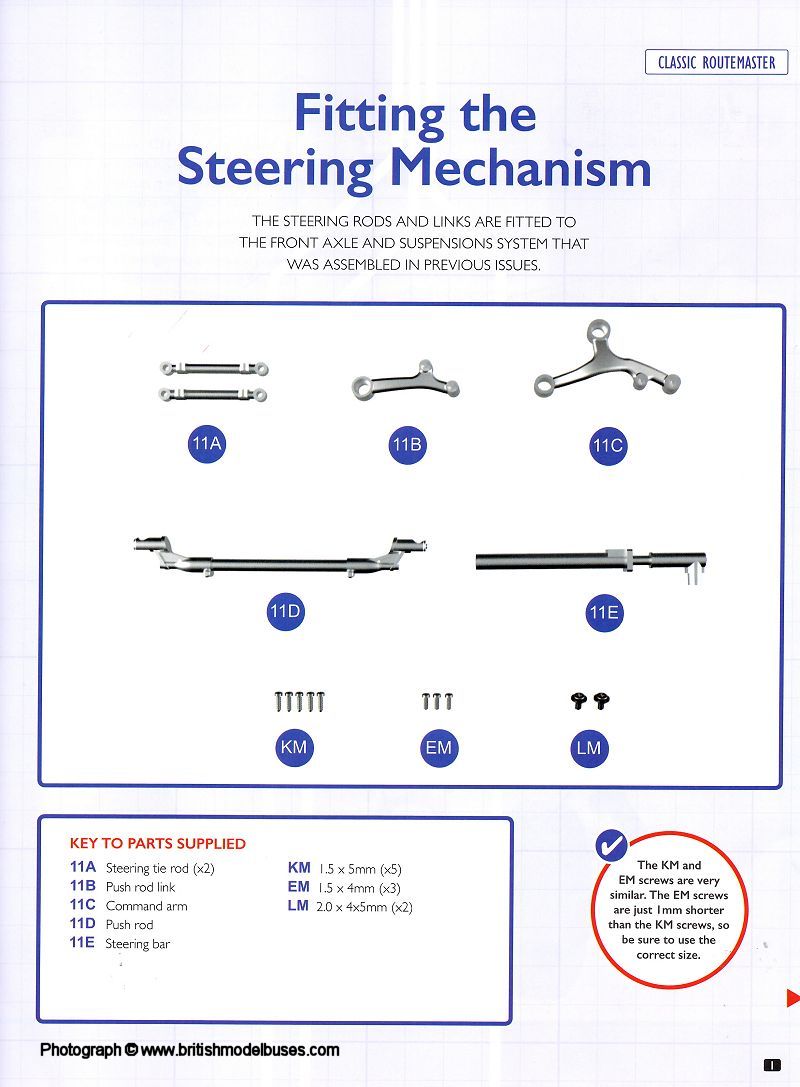
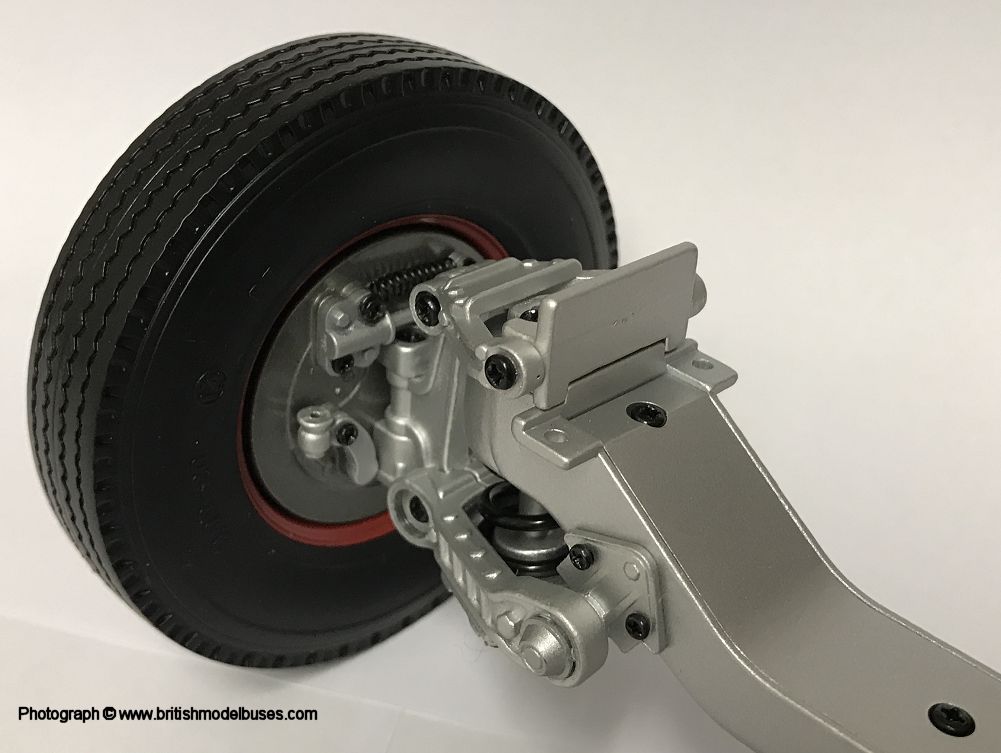
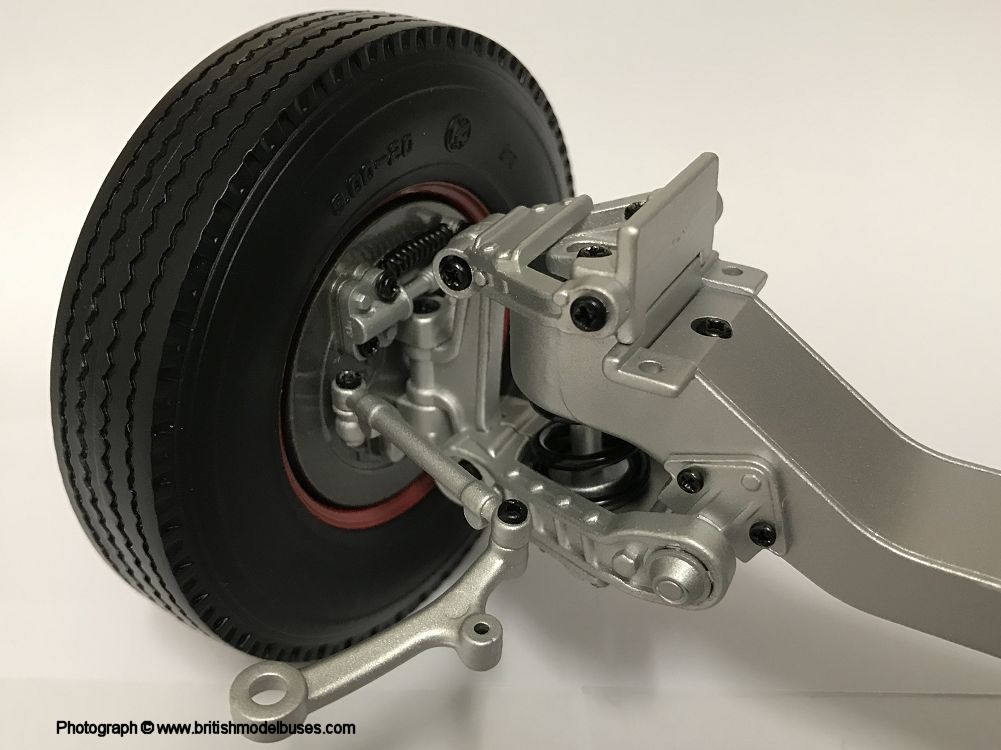
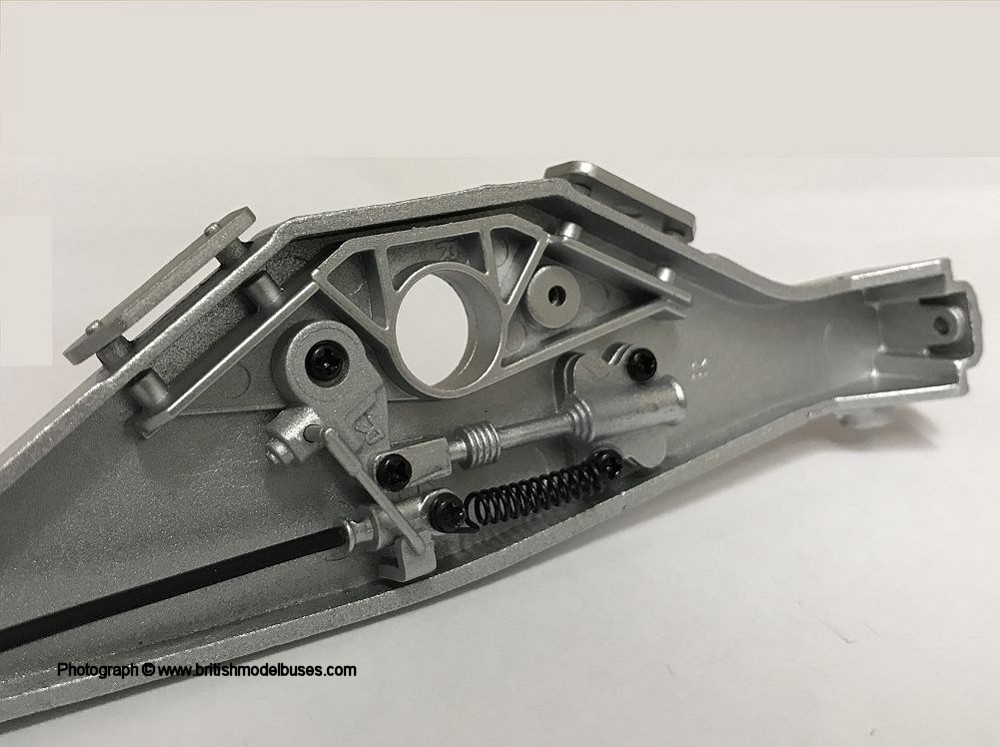
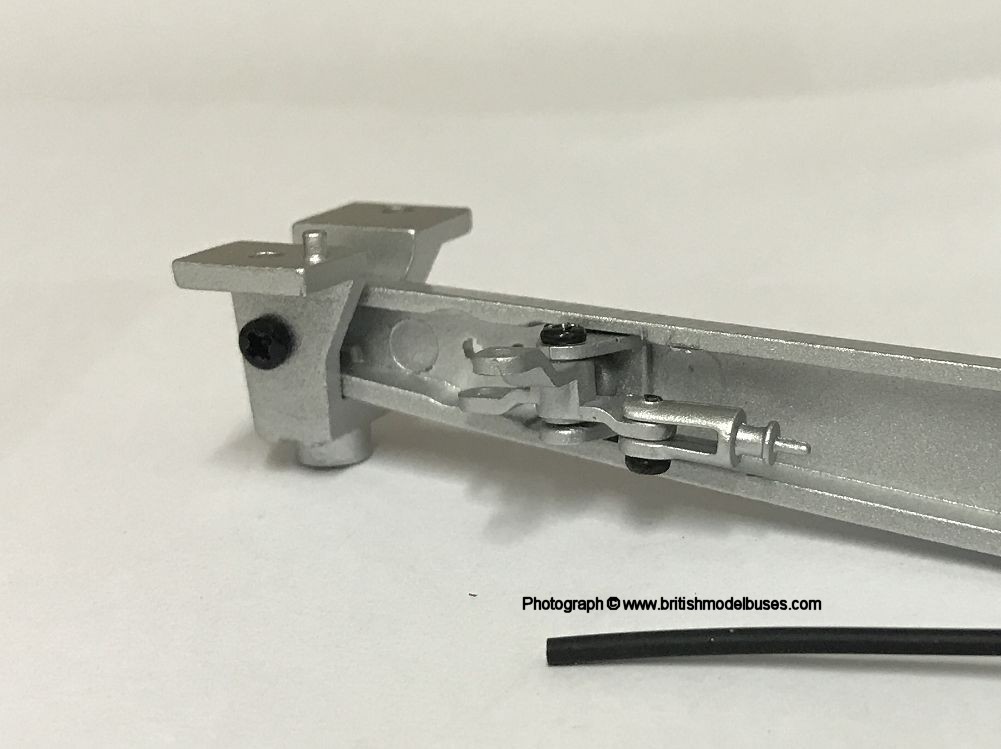
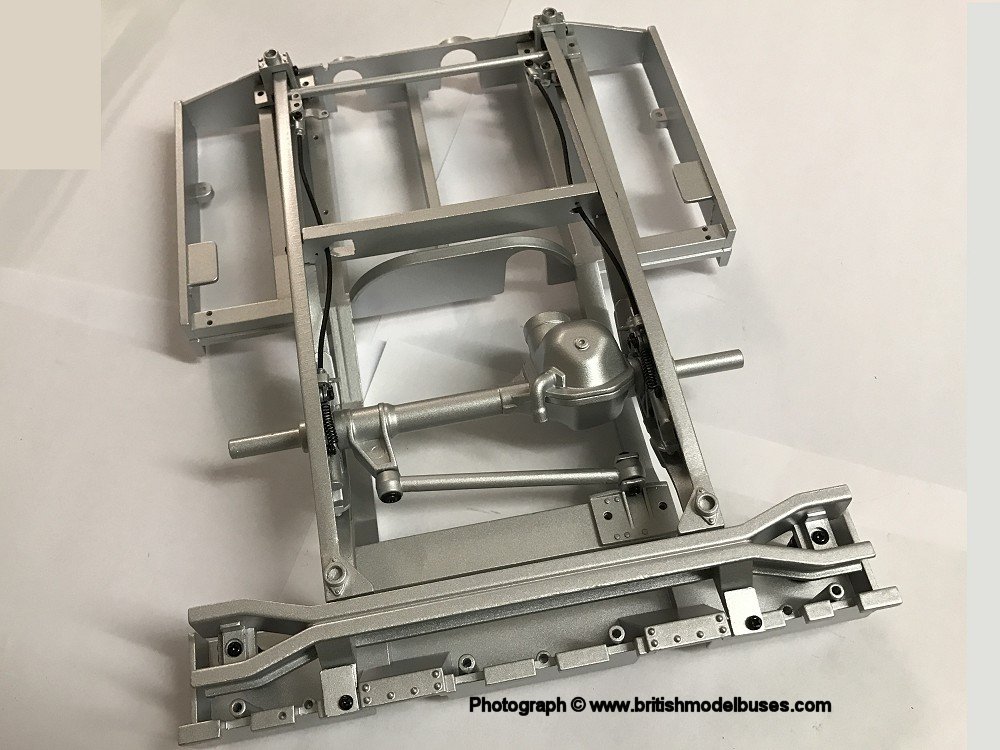
INSTRUCTIONS ISSUE 11 - FITTING THE STEERING MECHANISM |
|
|
|

|
|
|
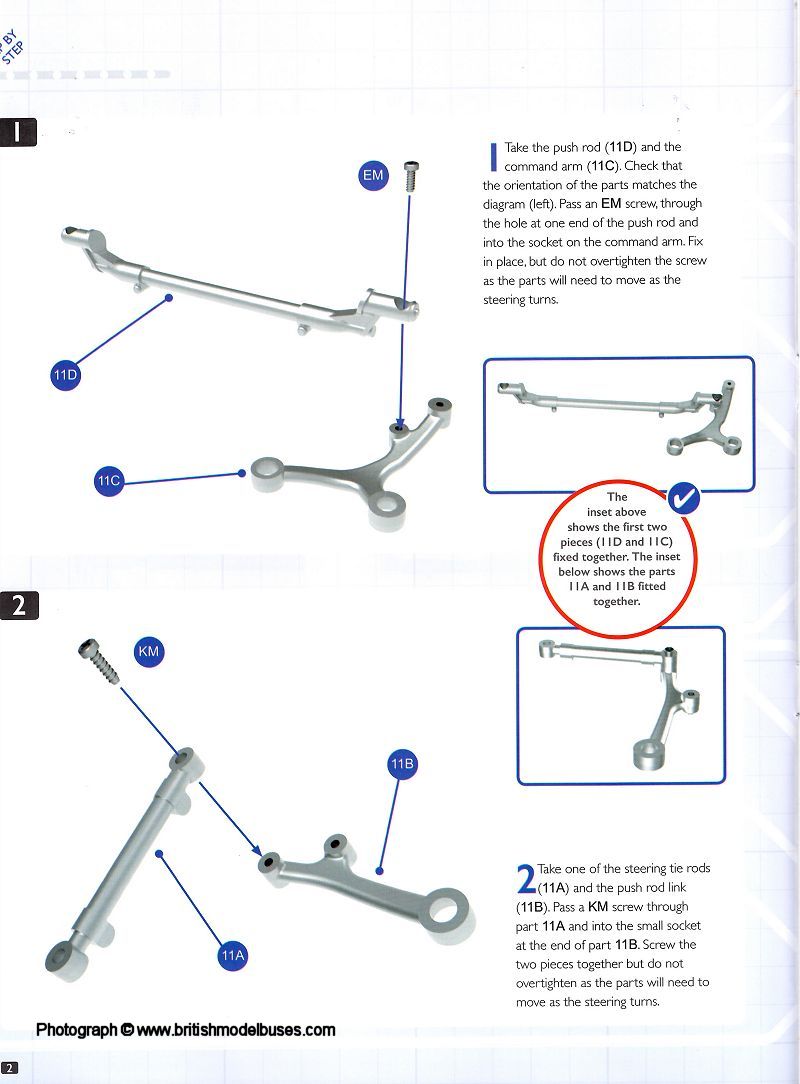
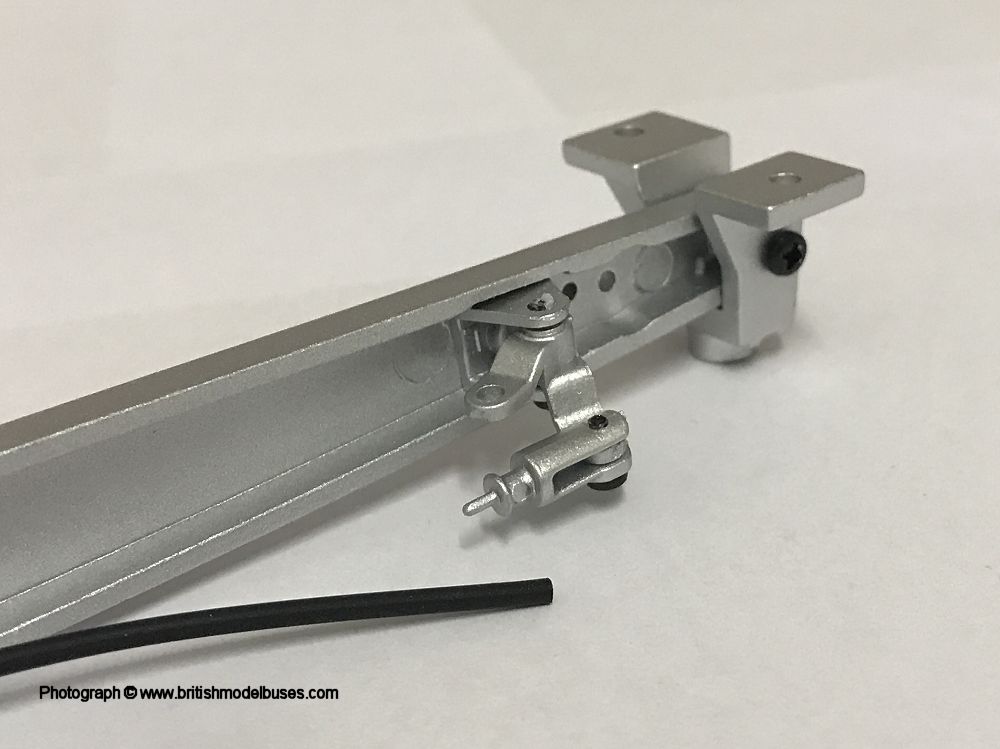
BUILD ISSUE 11 - FITTING THE STEERING MECHANISM |
|
|
|
|
|
|
|

|
|
|
|
|
|
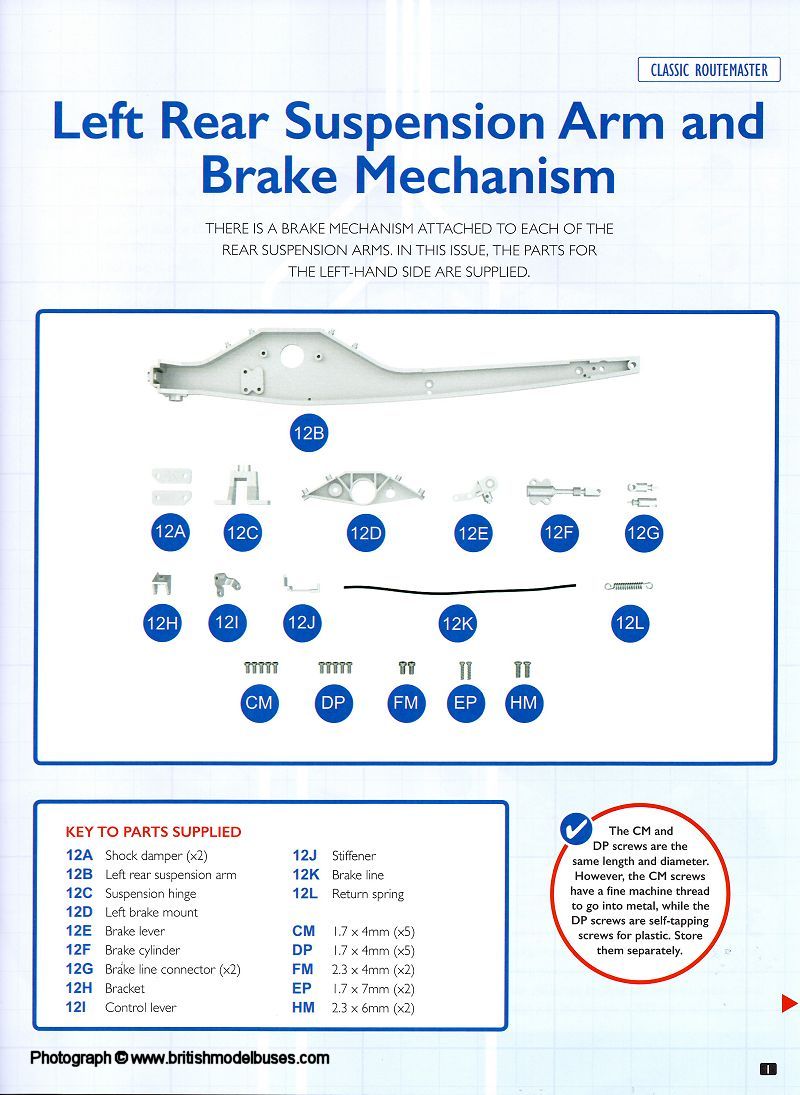
INSTRUCTIONS ISSUE 12 - LEFT REAR SUSPENSION ARM AND BRAKE MECHANISM |
|
|
|
|
|
|
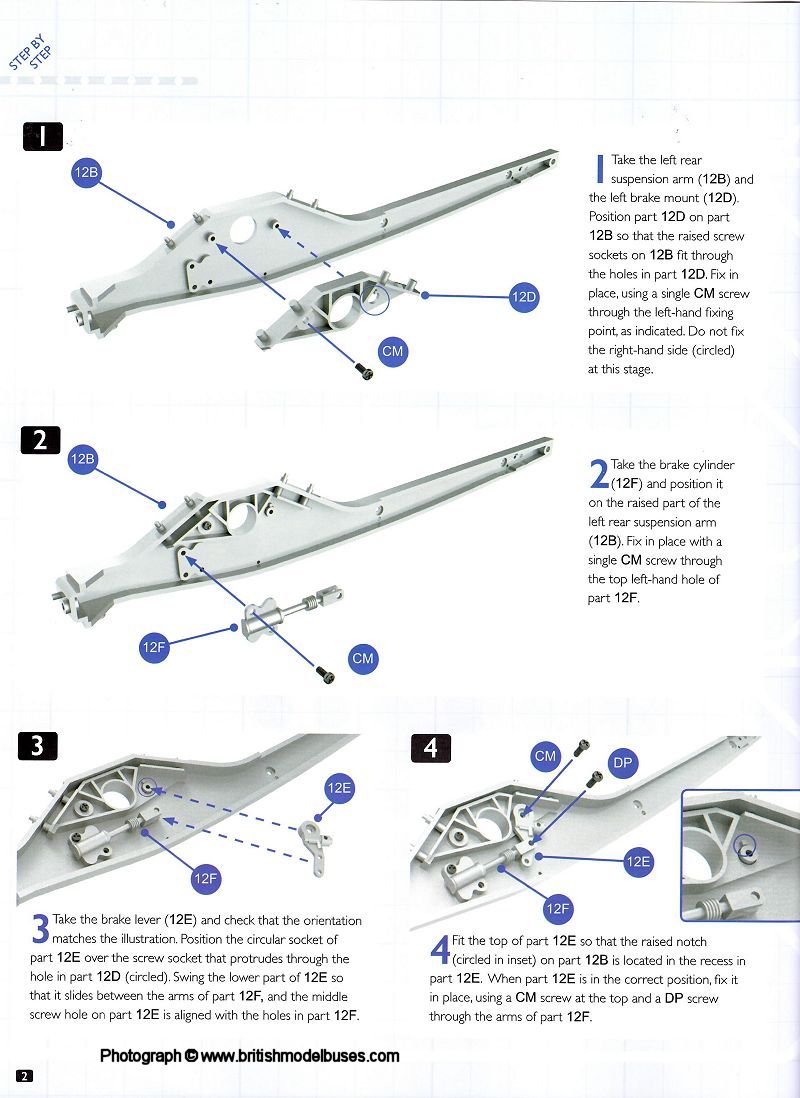
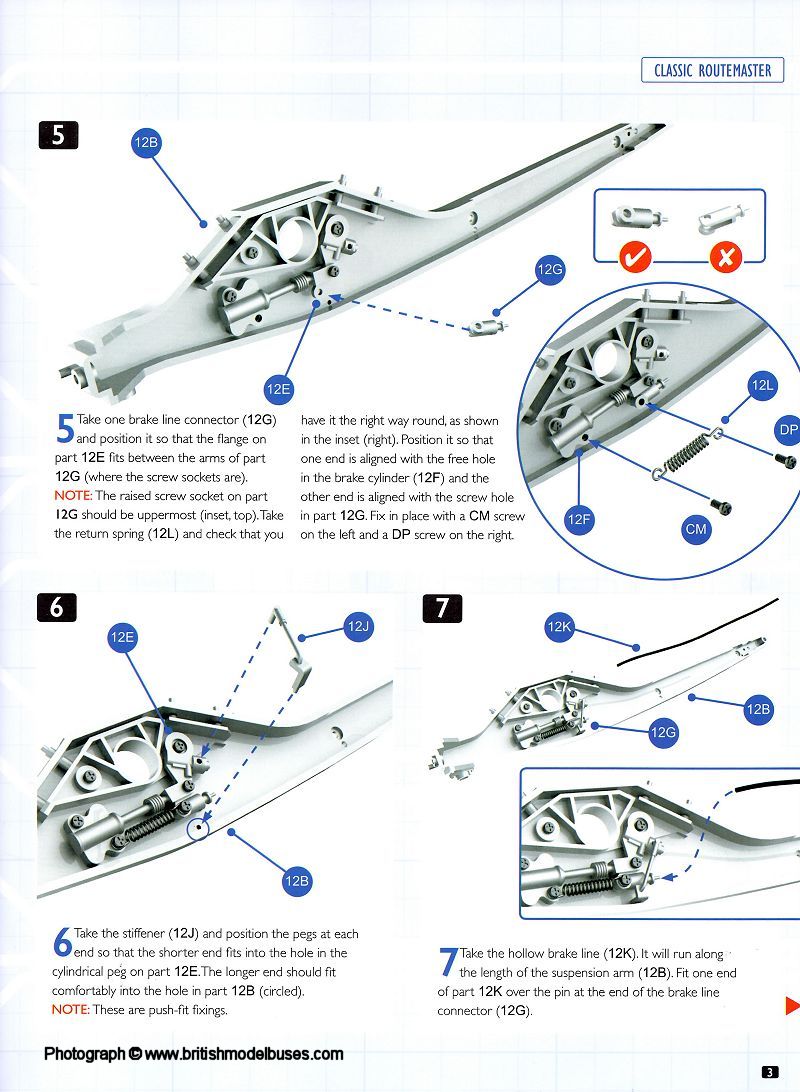
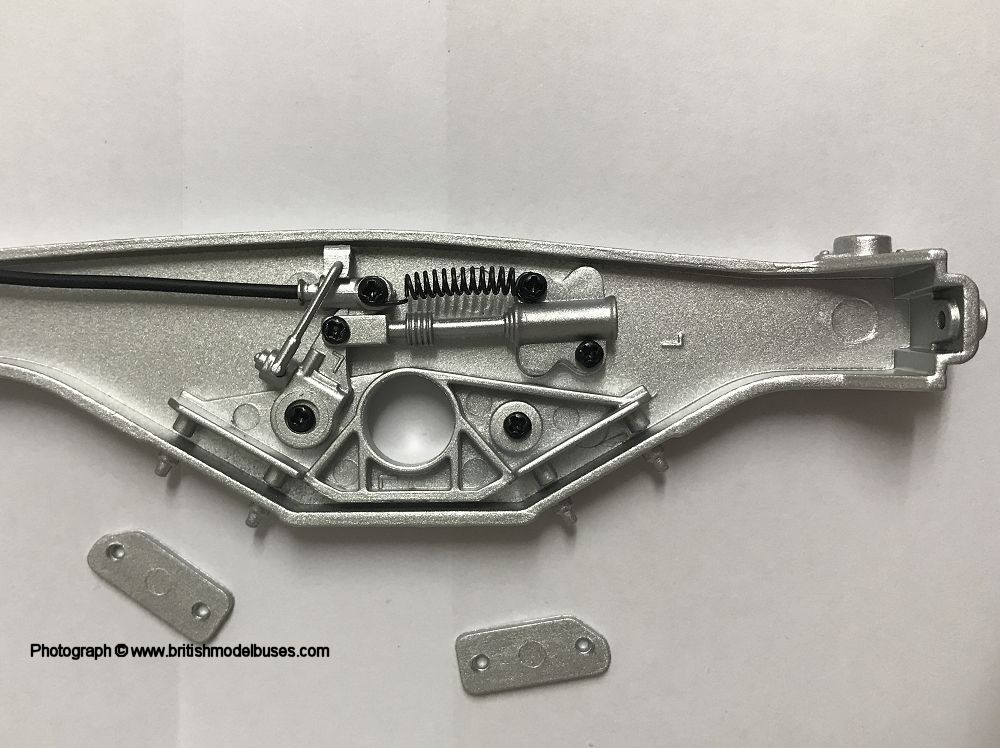
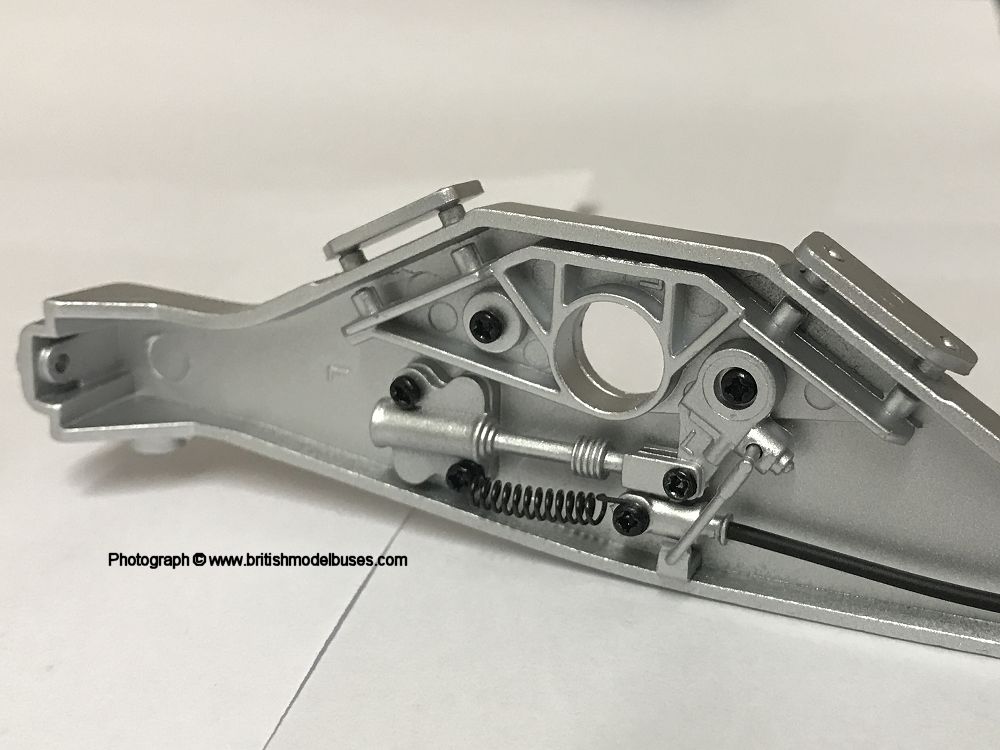
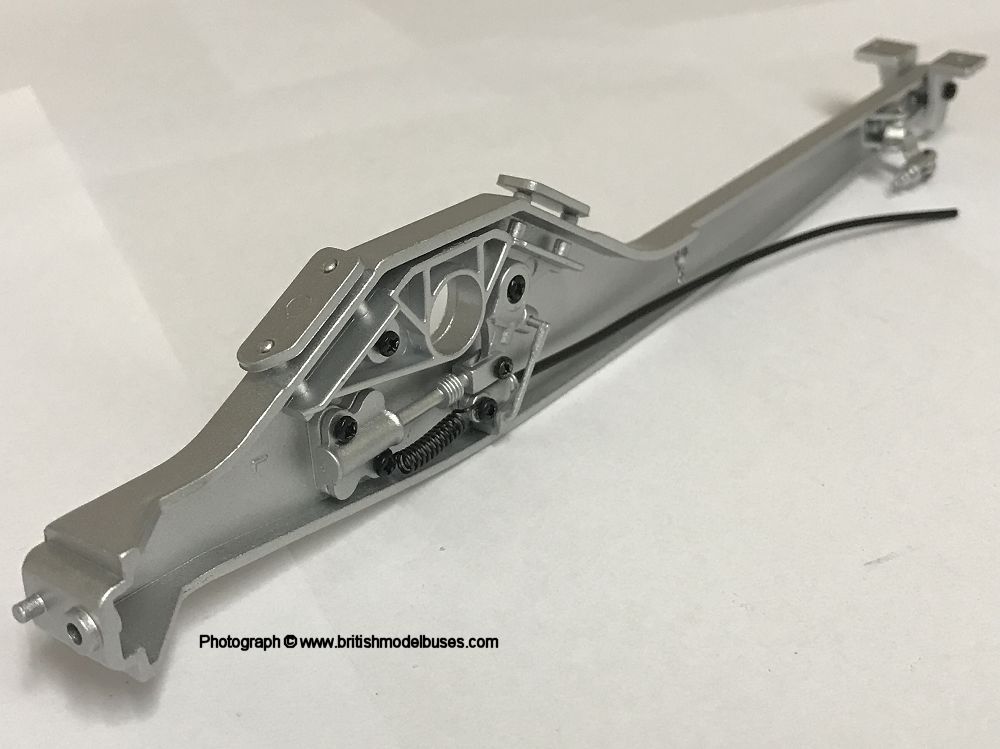
BUILD ISSUE 12 - LEFT REAR SUSPENSION ARM AND BRAKE MECHANISM |
|
|
|

|
|
|
|
|

|

|
|
|
|
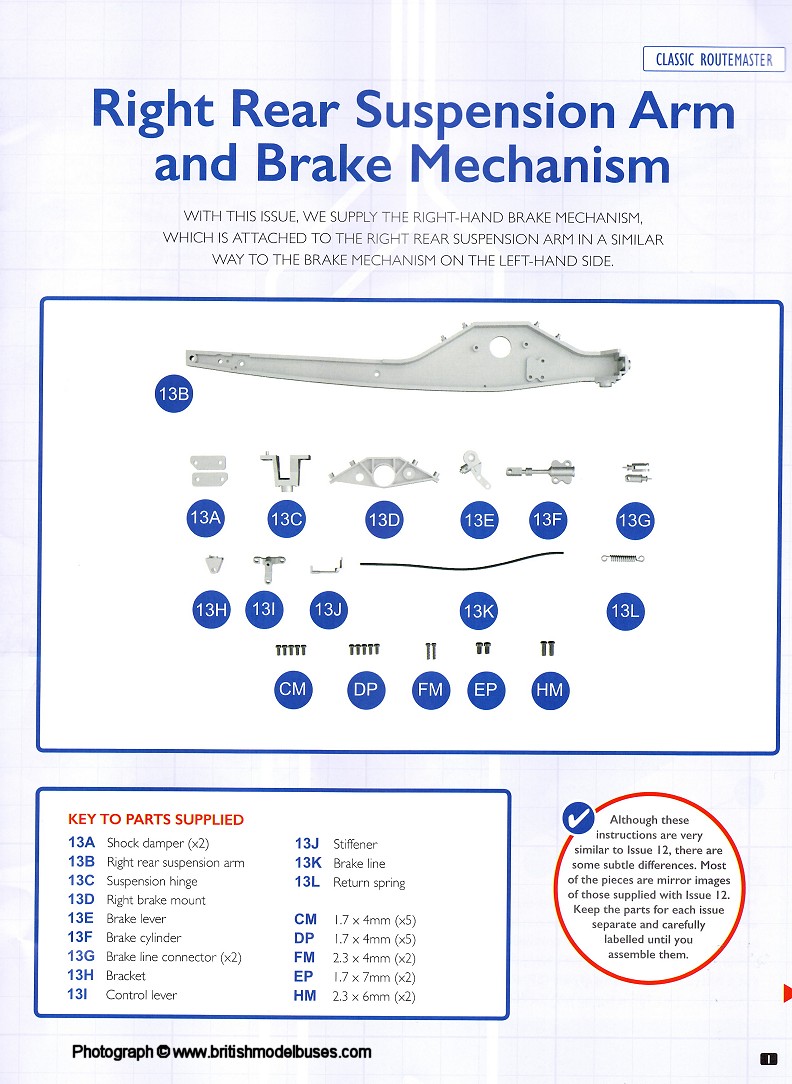
INSTRUCTIONS ISSUE 13 - RIGHT REAR SUSPENSION ARM AND BRAKE MECHANISM |
|
|

|

|
|
|
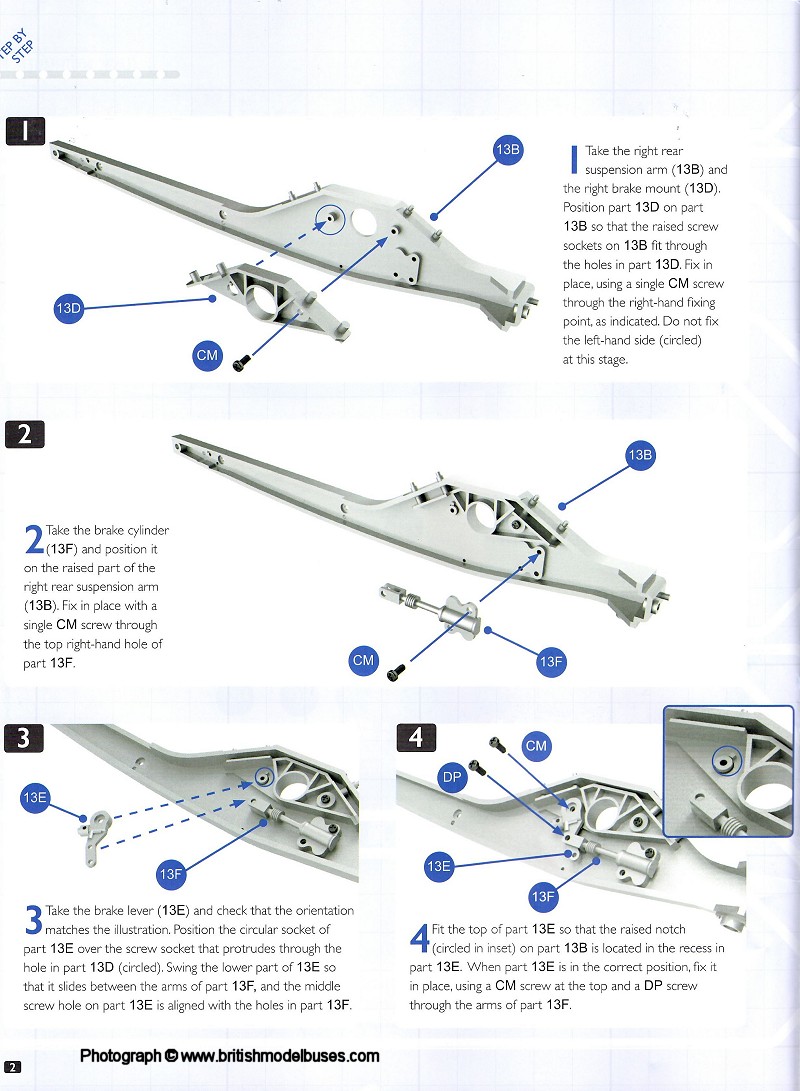
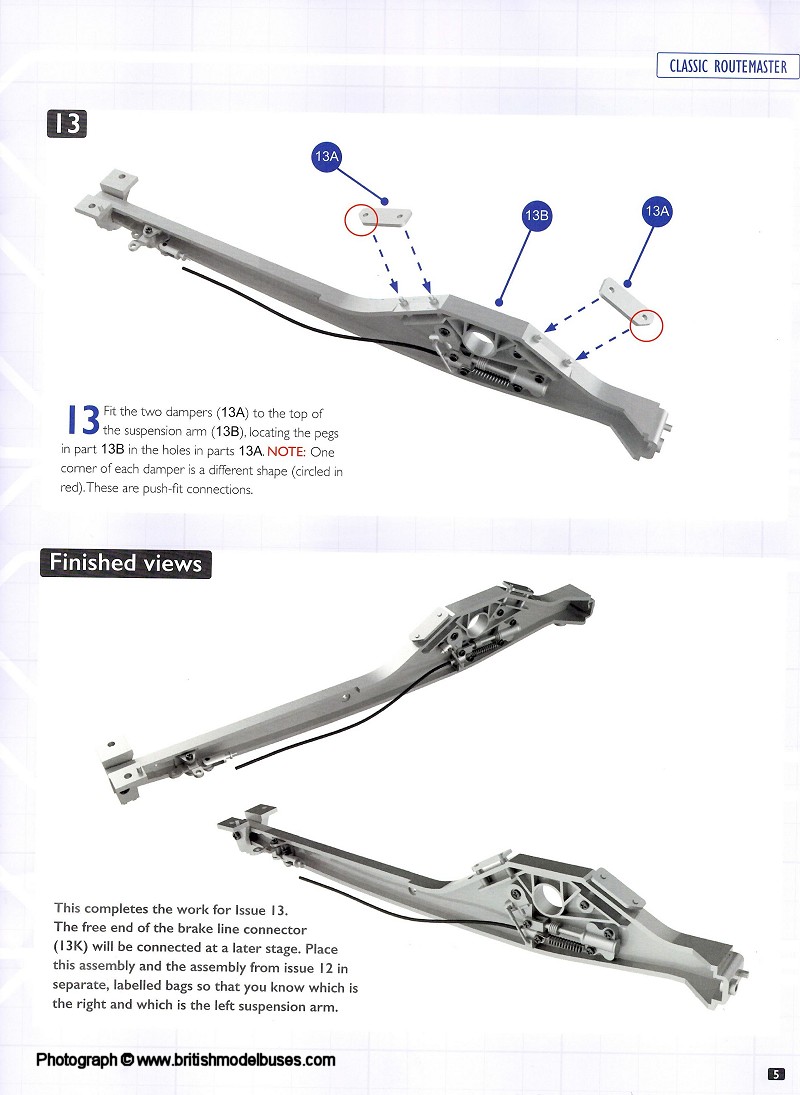
BUILD ISSUE 13 - RIGHT REAR SUSPENSION ARM AND BRAKE MECHANISM |
|
|

|
|
|
|
|

|
|
|
|
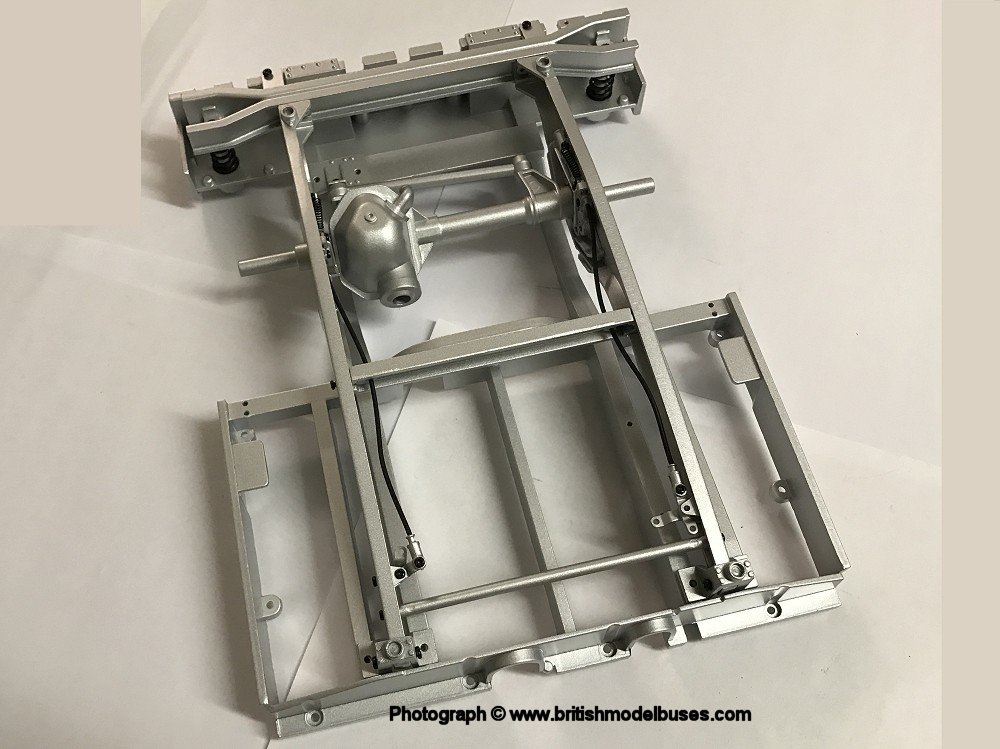
INSTRUCTIONS ISSUE 14 - FITTING THE REAR AXLE |

|
|
|
|

|
|
|
|
BUILD ISSUE 14 - FITTING THE REAR AXLE |
|
|
|
|

|
|
|

|
|
|
|
|
|
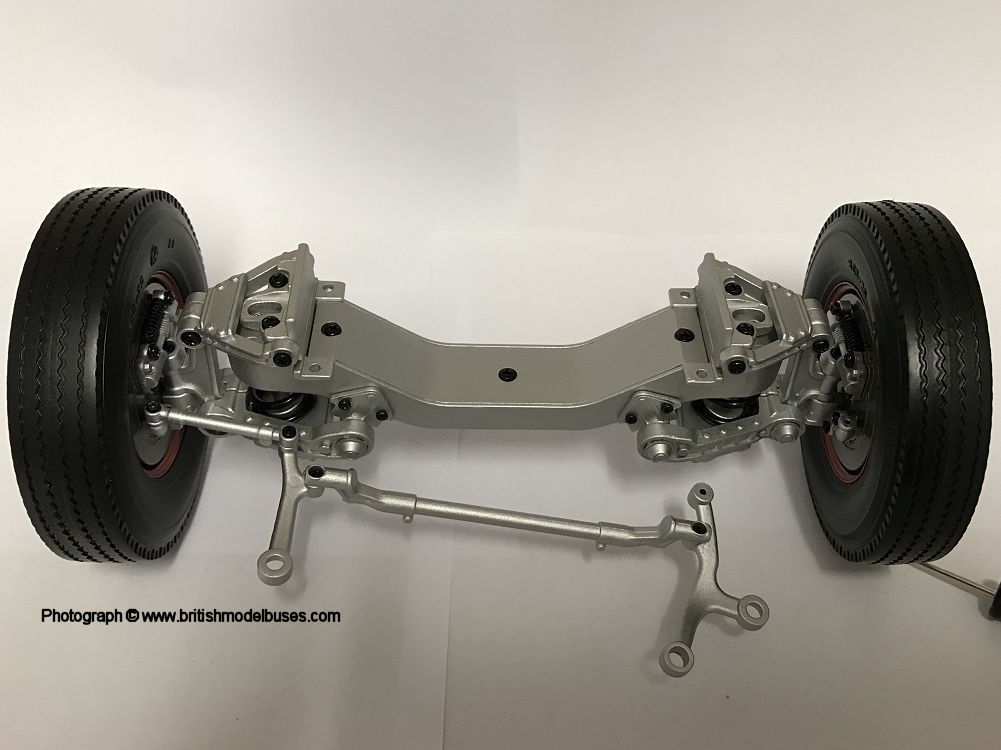
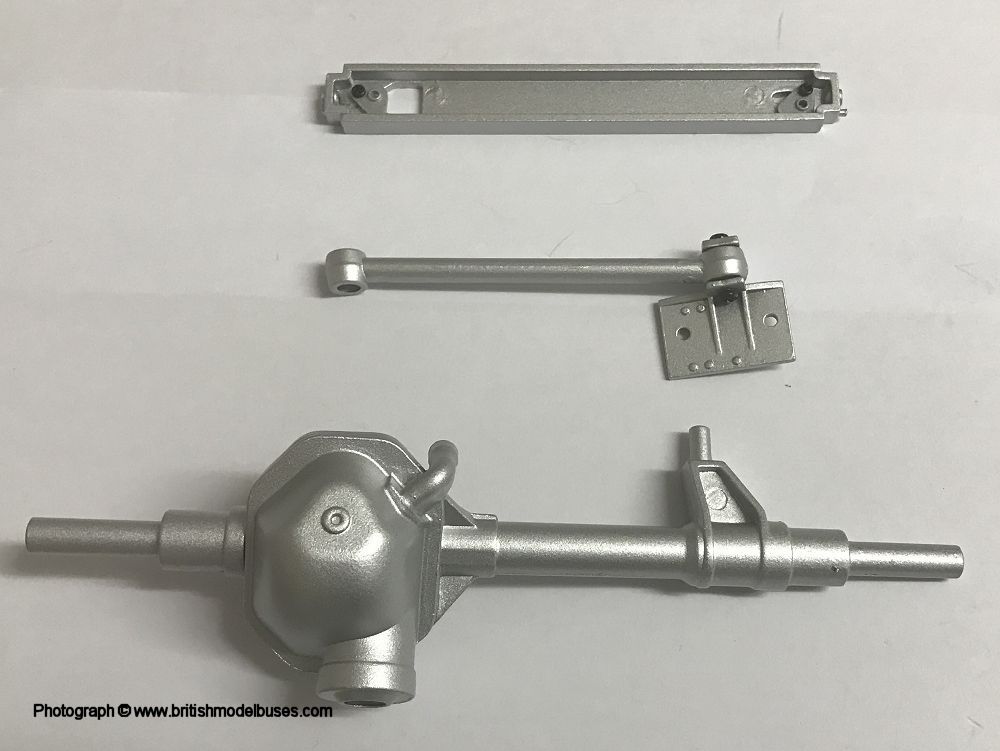
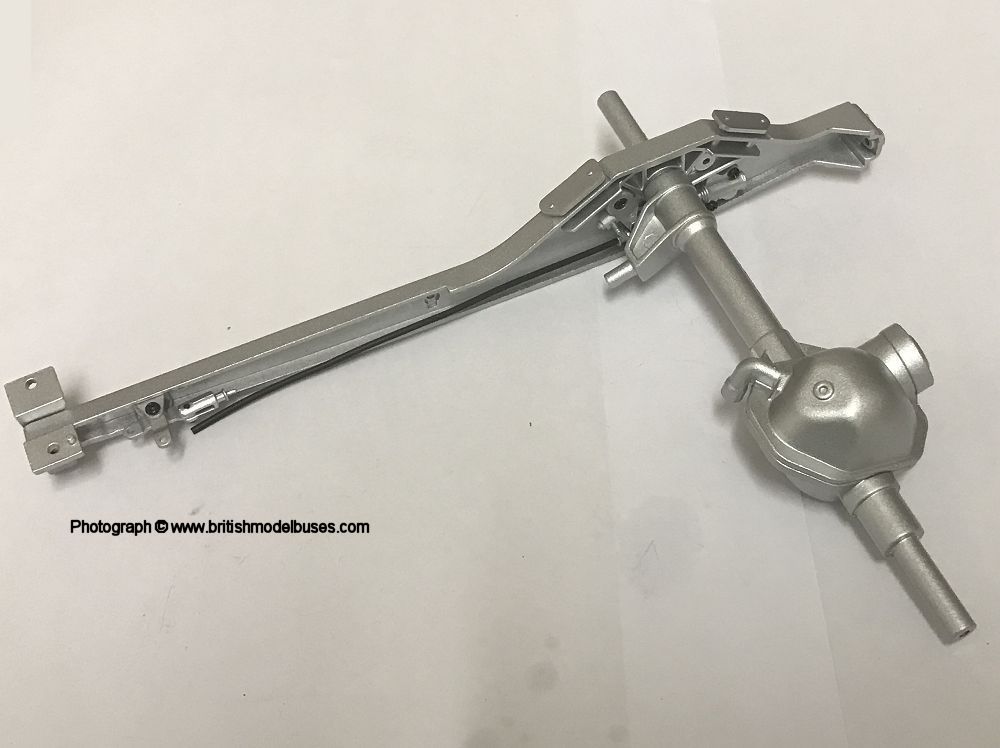
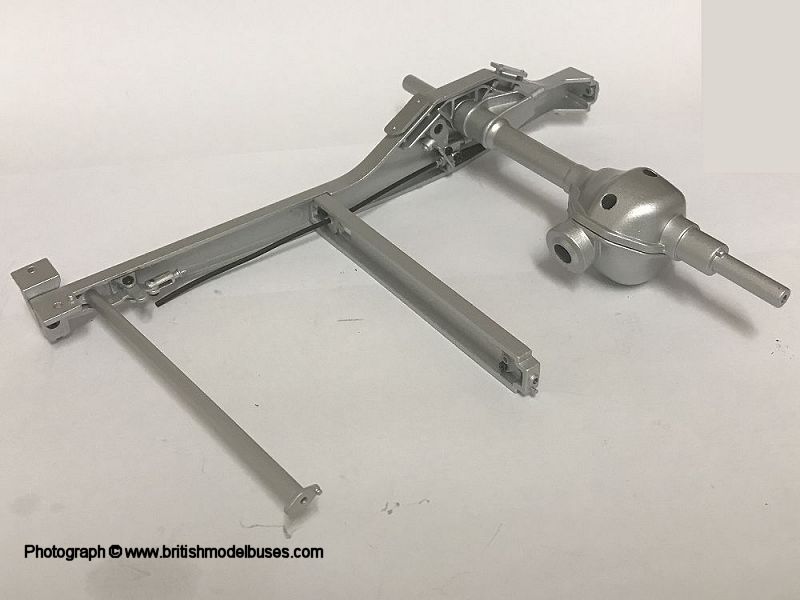
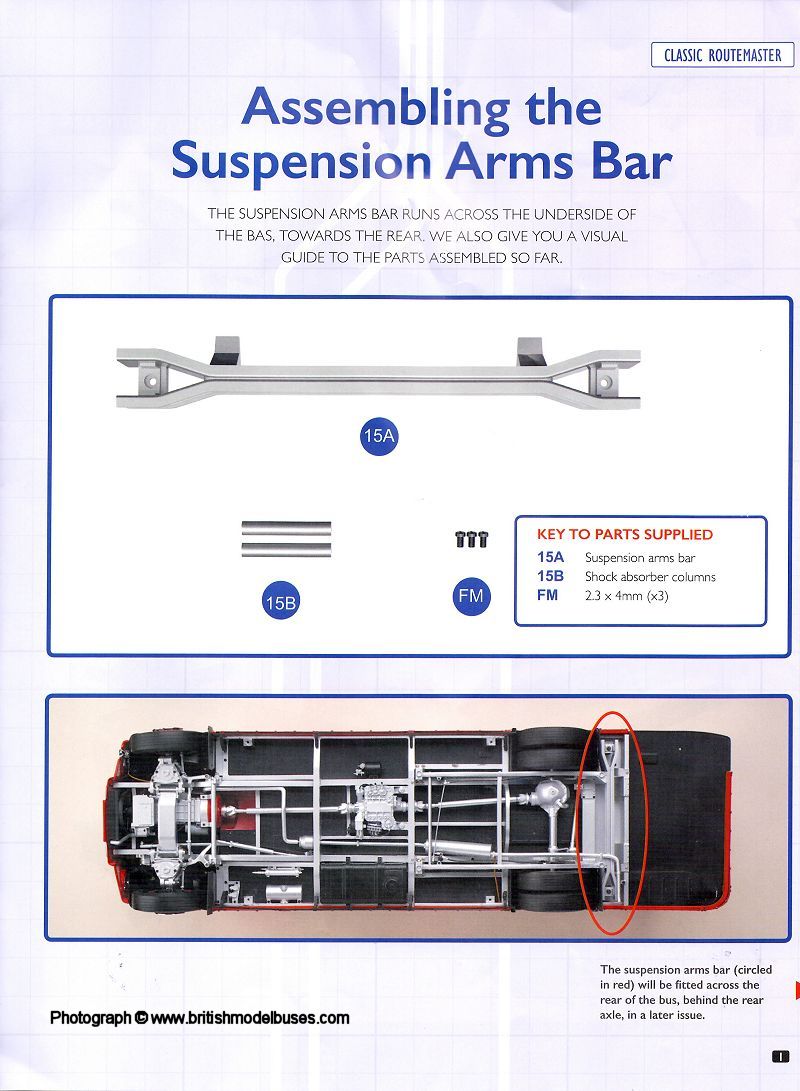
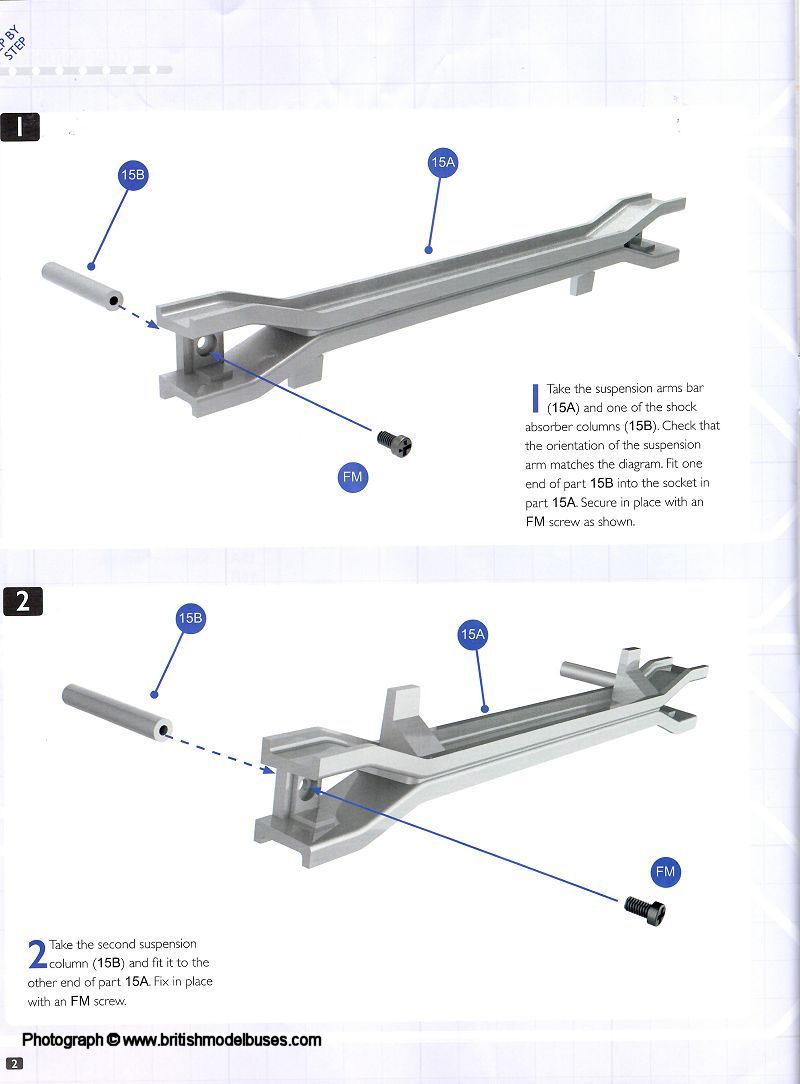
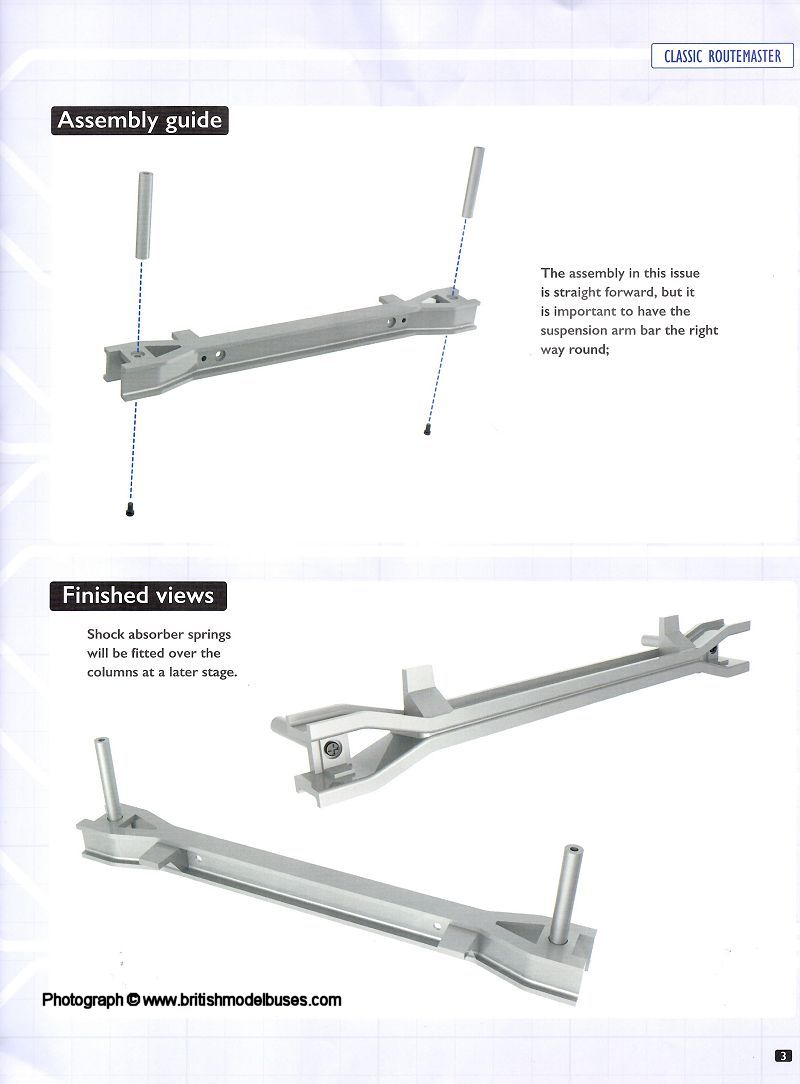
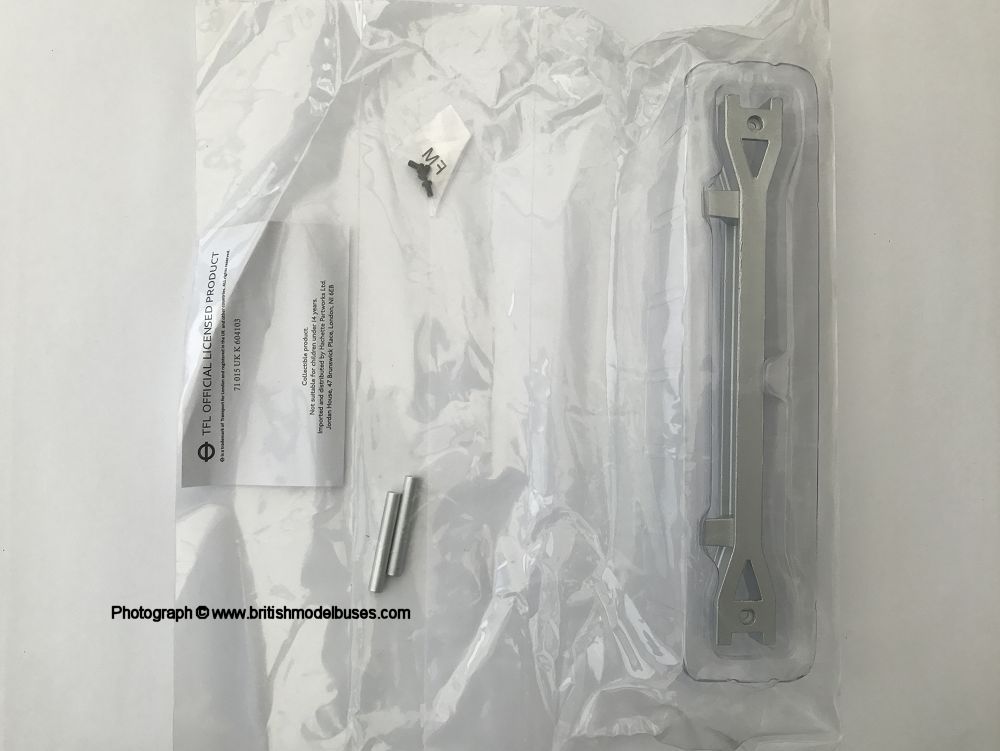
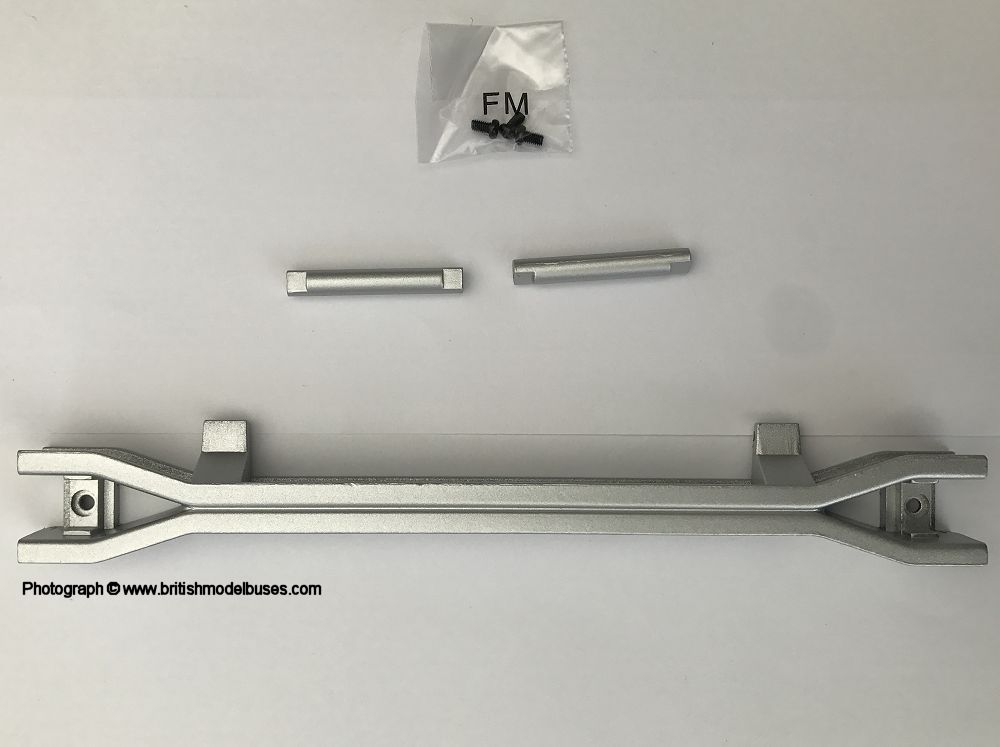
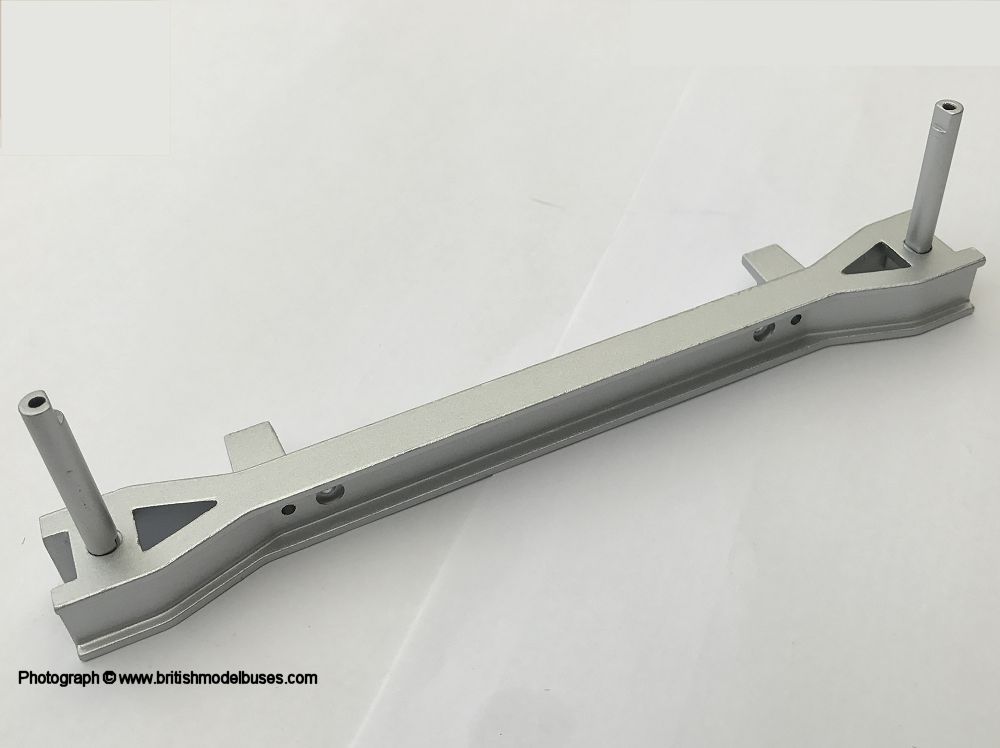
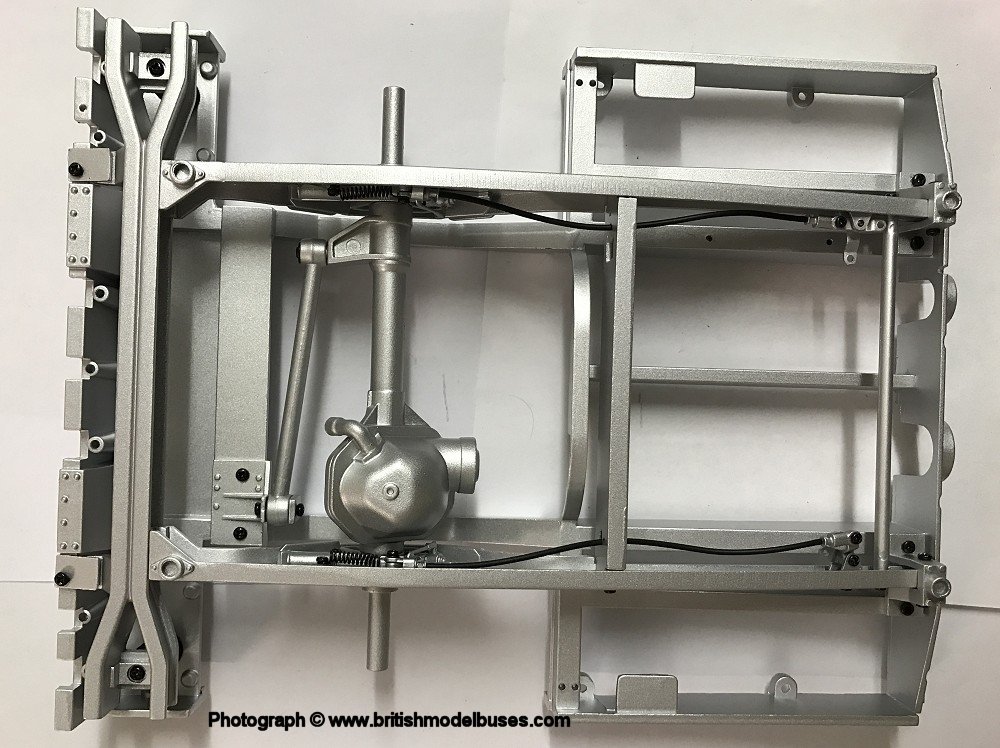
INSTRUCTIONS ISSUE 15 - ASSEMBLING THE SUSPENSION ARMS BAR |
|
|
|

|
|
|
|
|
BUILD ISSUE 15 - ASSEMBLING THE SUSPENSION ARMS BAR |
|
|
|
|
|
|
|
|
|
|
|
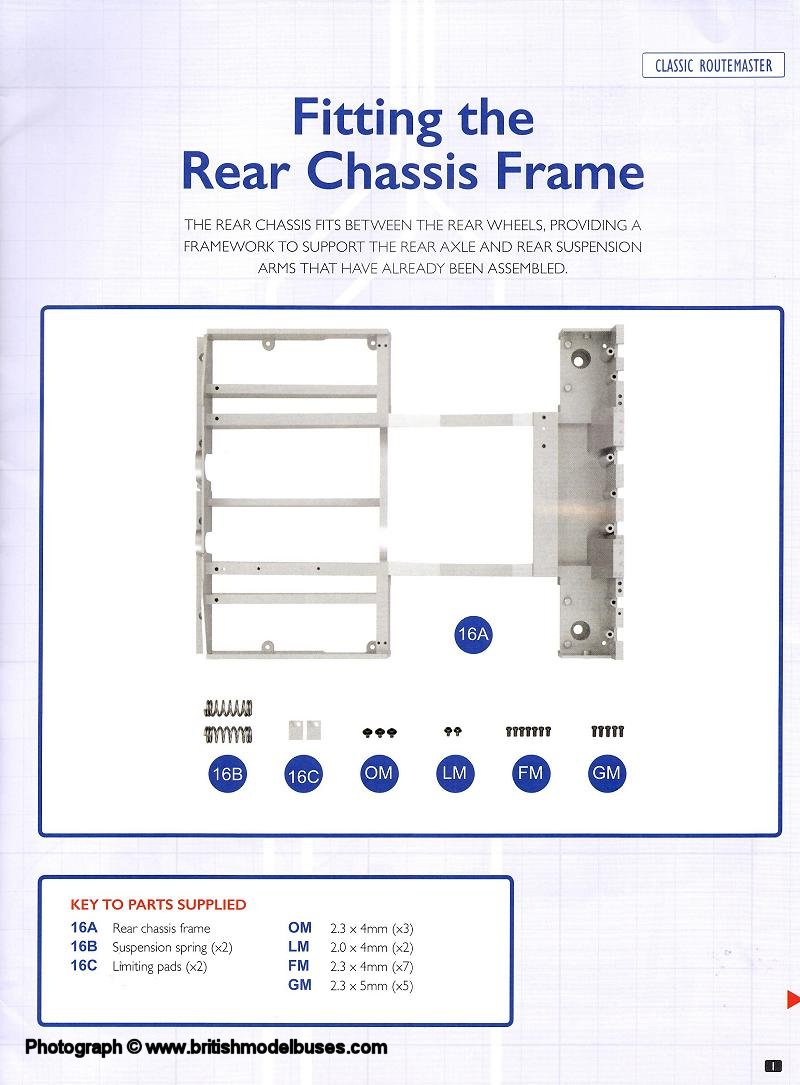
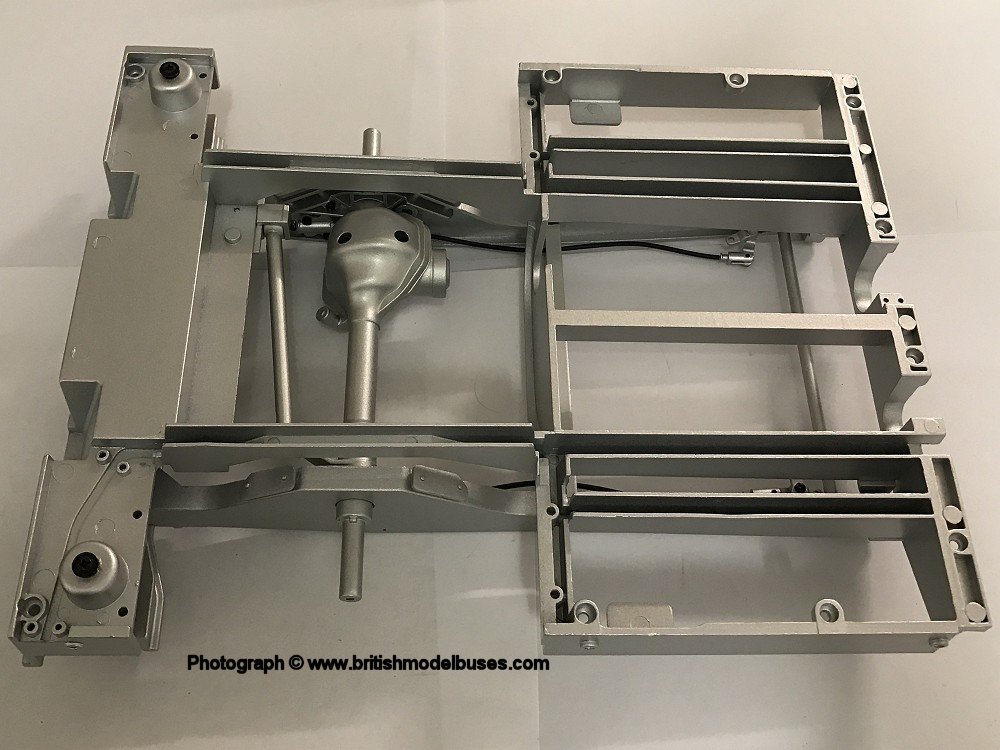
INSTRUCTIONS ISSUE 16 - FITTING THE REAR CHASSIS FRAME |
|

|

|
|

|
|
|
|
BUILD ISSUE 16 - FITTING THE REAR CHASSIS FRAME |
|
|

|
|
|
|
|
|
|
|
|
|
|
|
|
|
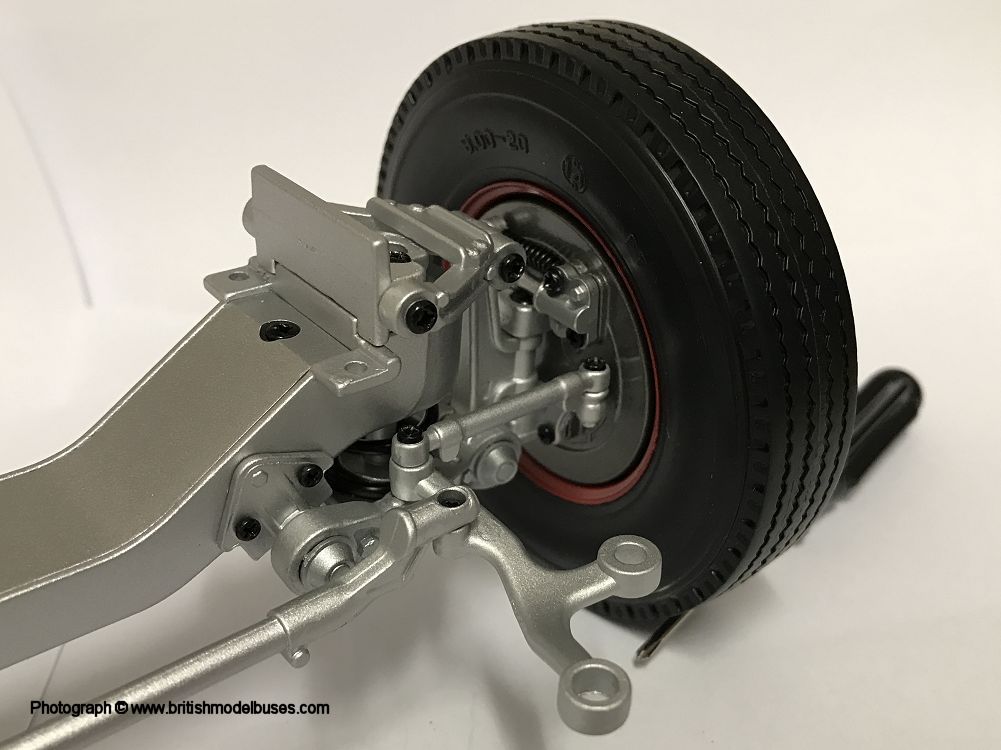
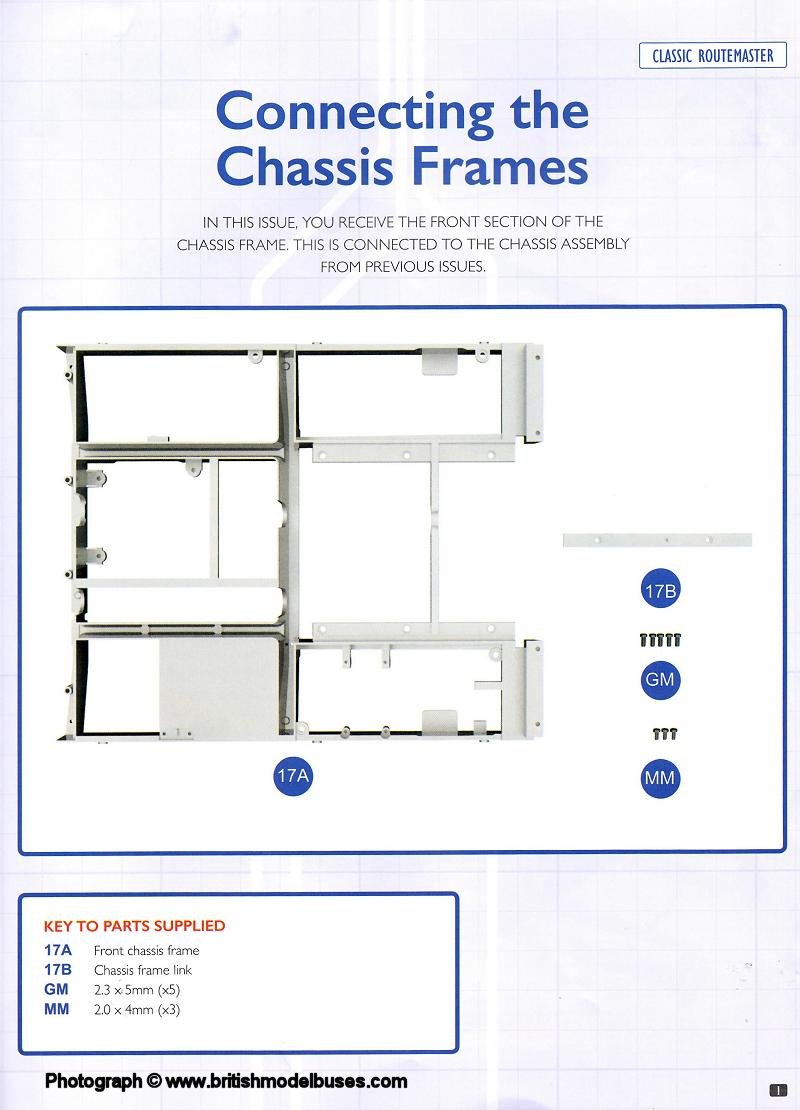
INSTRUCTIONS ISSUE 17 - CONNECTING THE CHASSIS FRAMES |
|

|

|

|
|
|
|
BUILD ISSUE 17 - CONNECTING THE CHASSIS FRAMES |
|
|
|
|
|
|
|
|
|
|
|
|
|
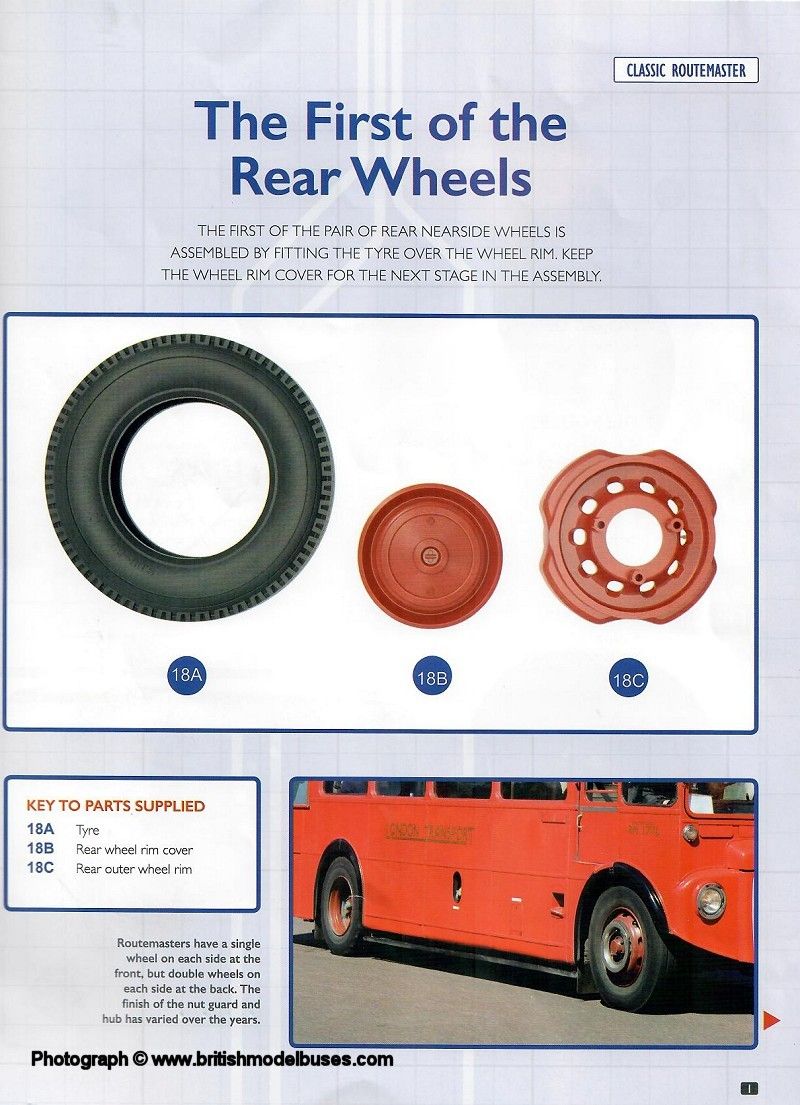
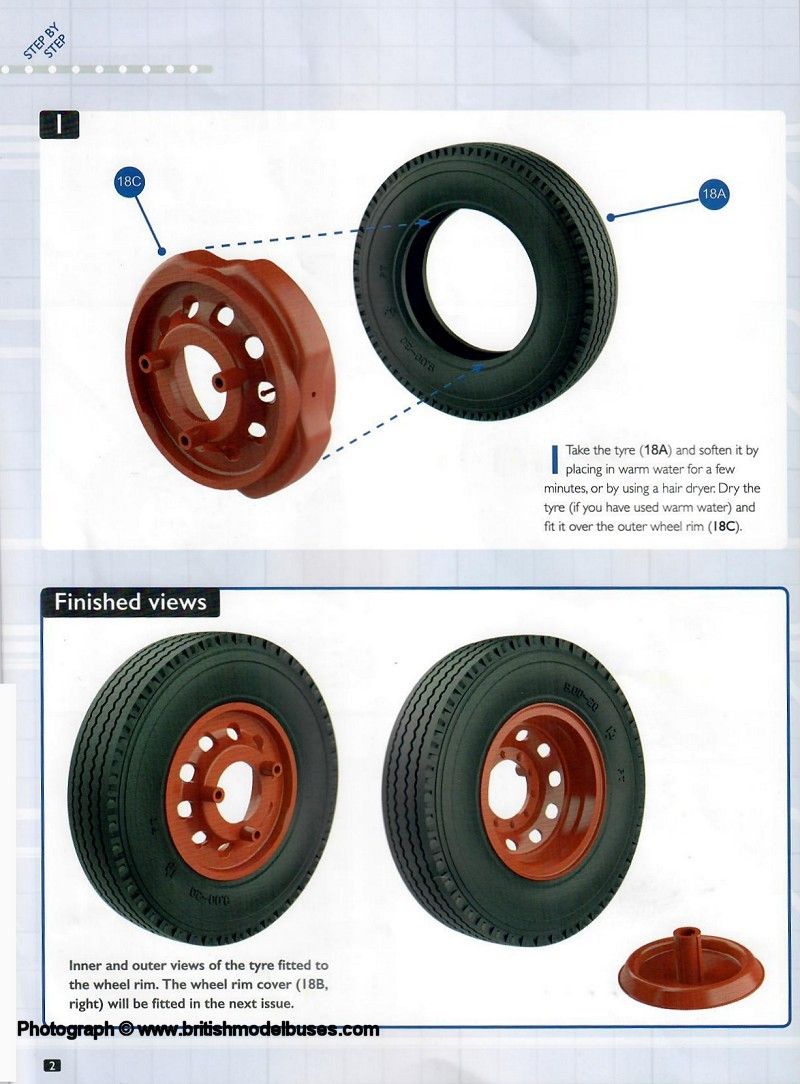
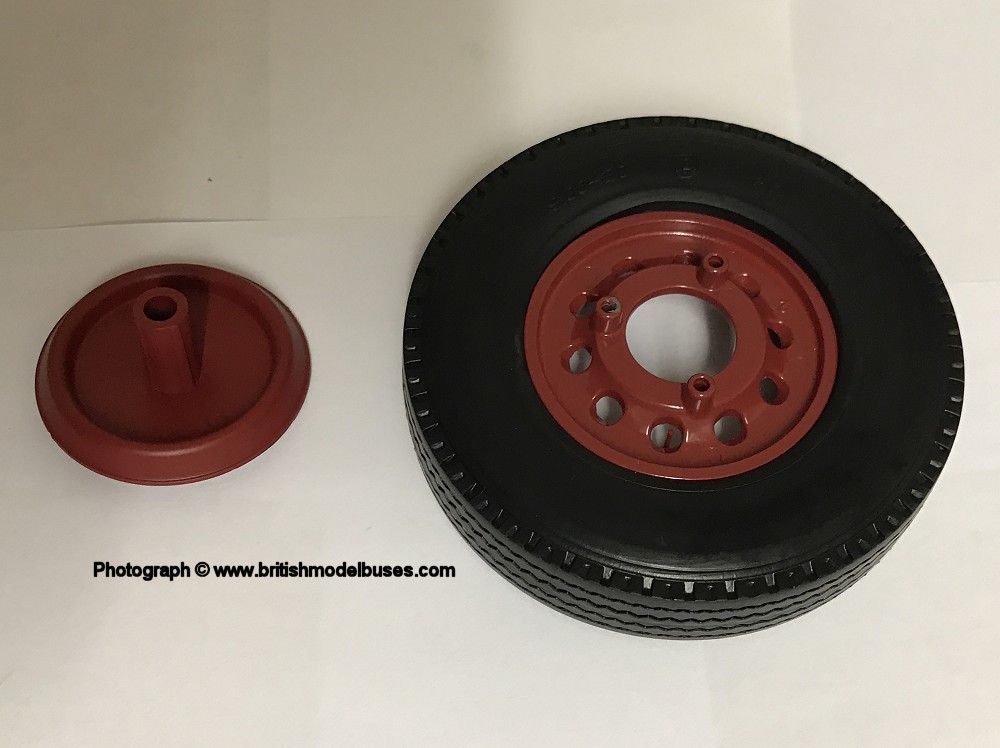
INSTRUCTIONS ISSUE 18 - FITTING THE FIRST OF THE REAR WHEELS |
|
|
|
|
|
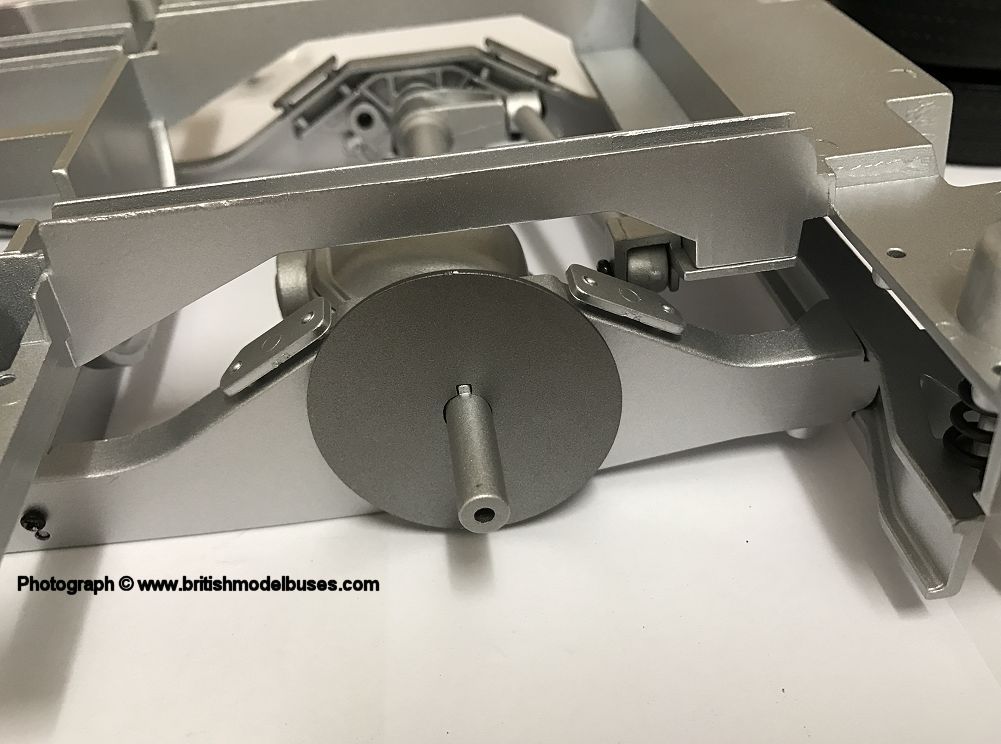
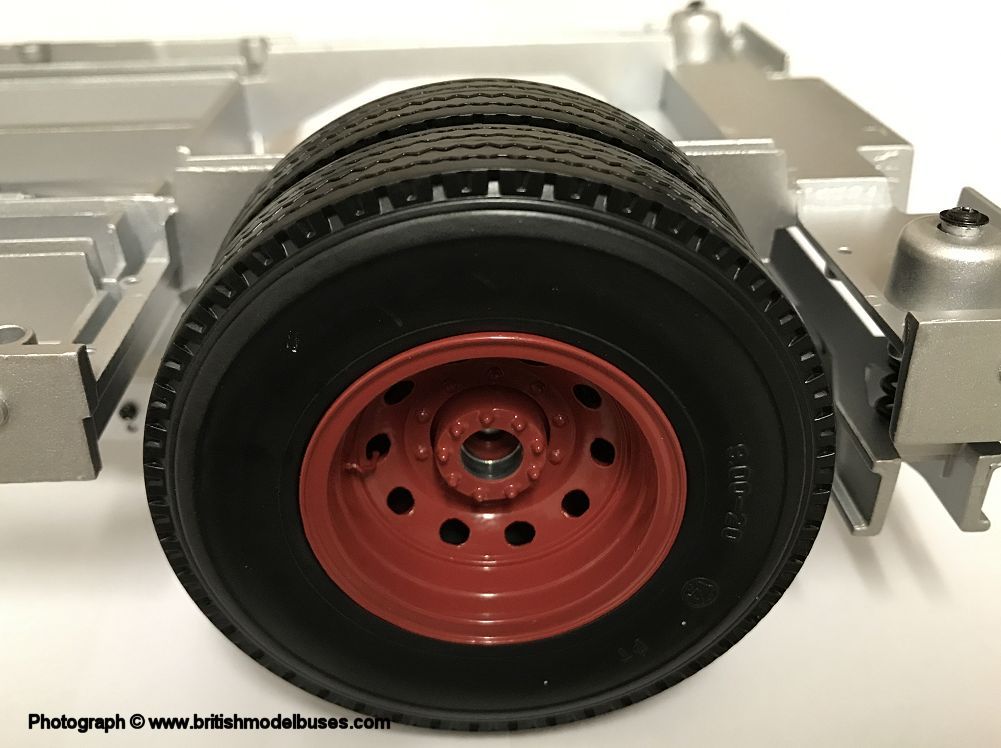
BUILD ISSUE 18 - FITTING THE FIRST OF THE REAR WHEELS |

|
|
|
|
|
|
|
|
|
|
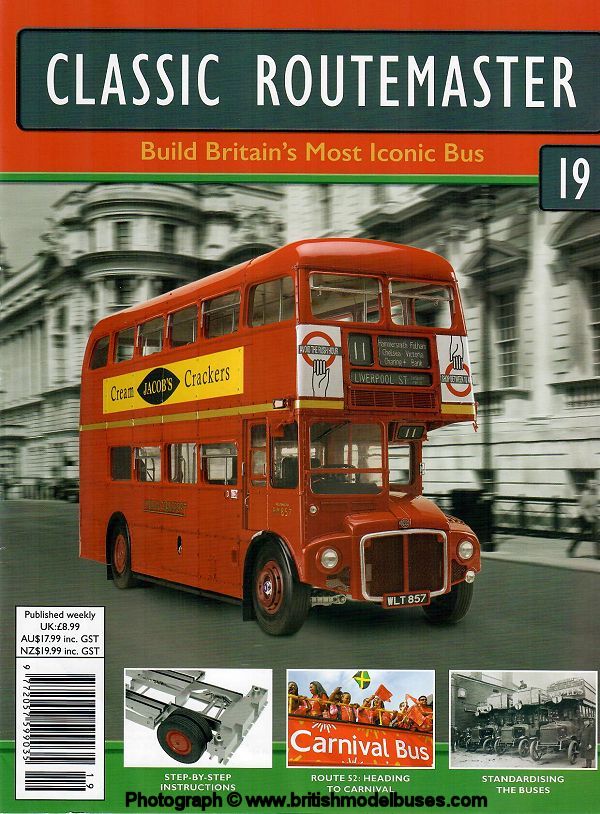
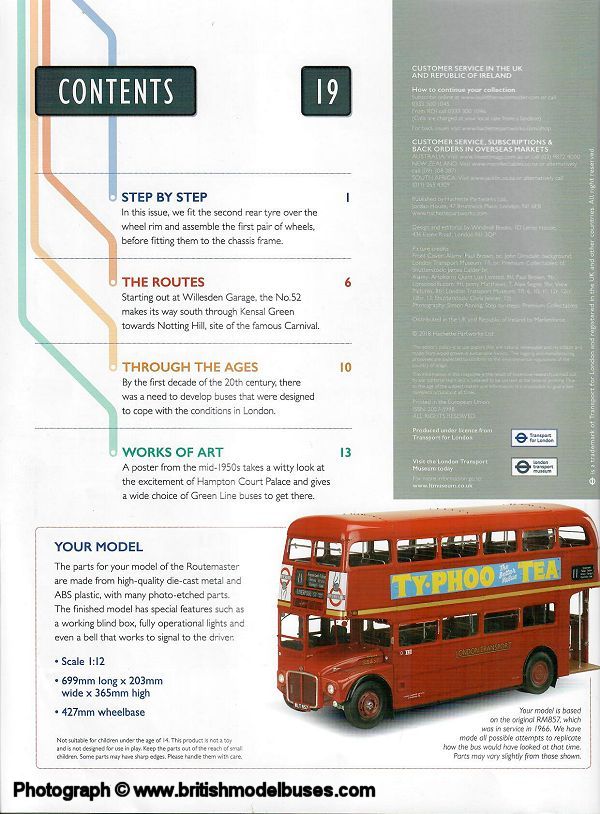
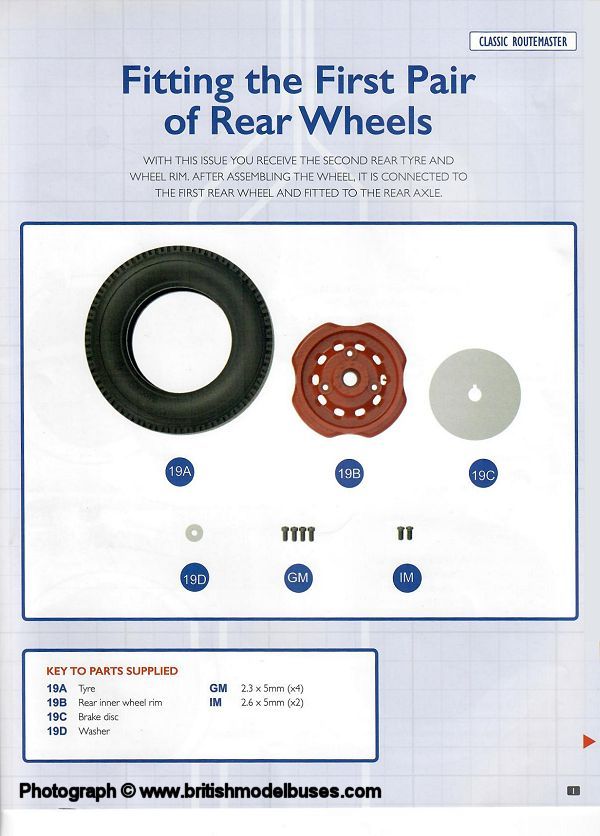
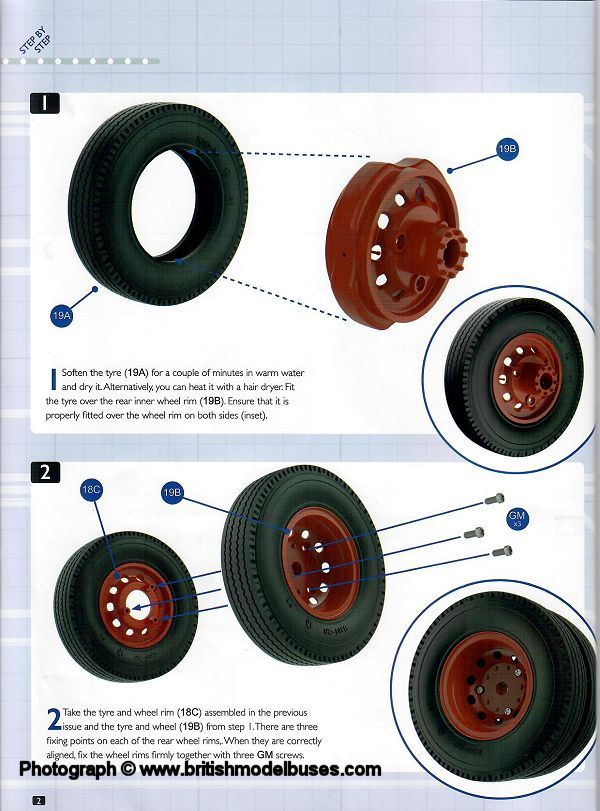
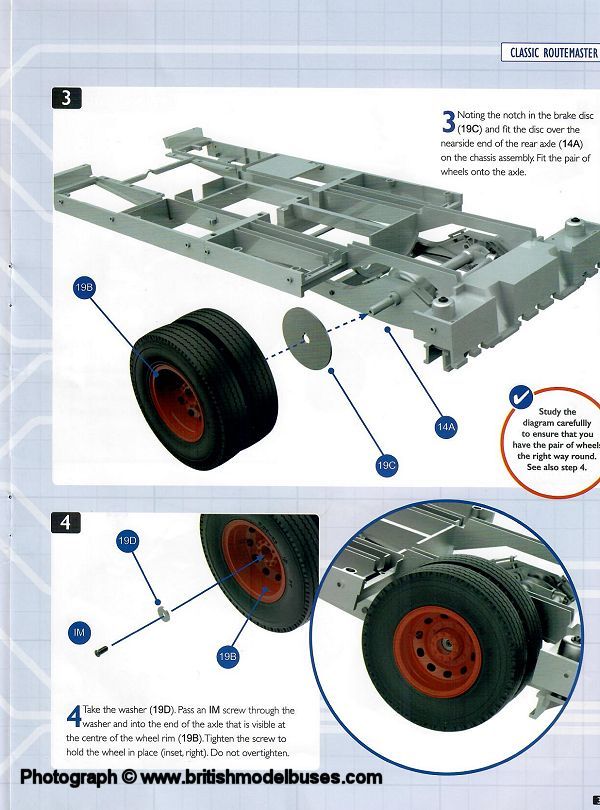
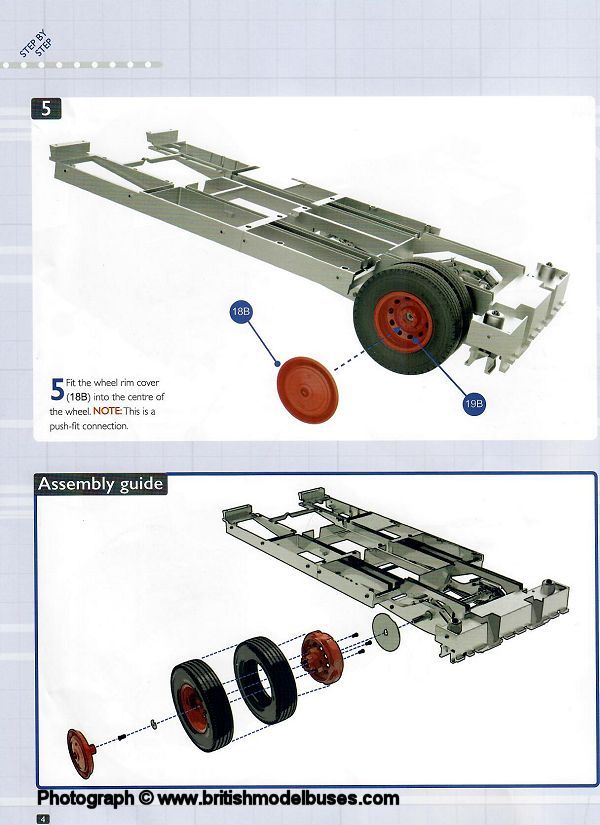
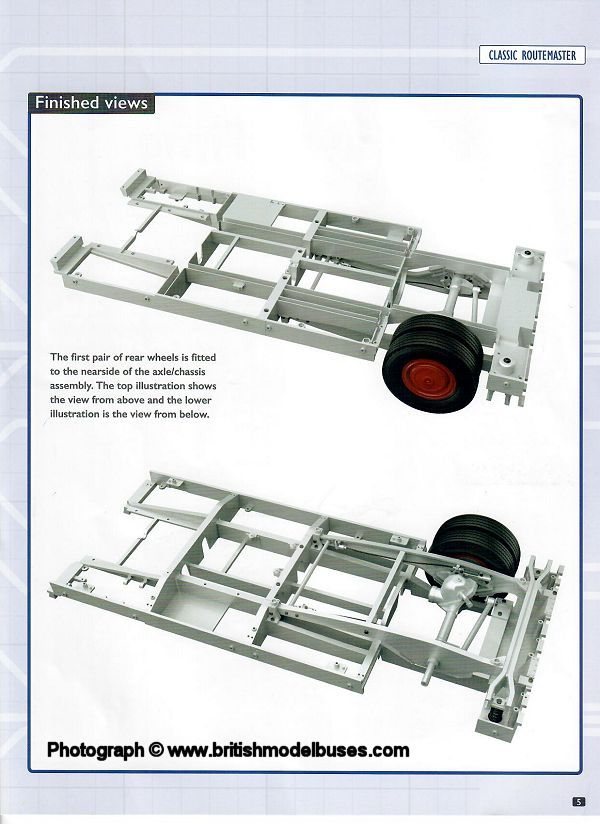
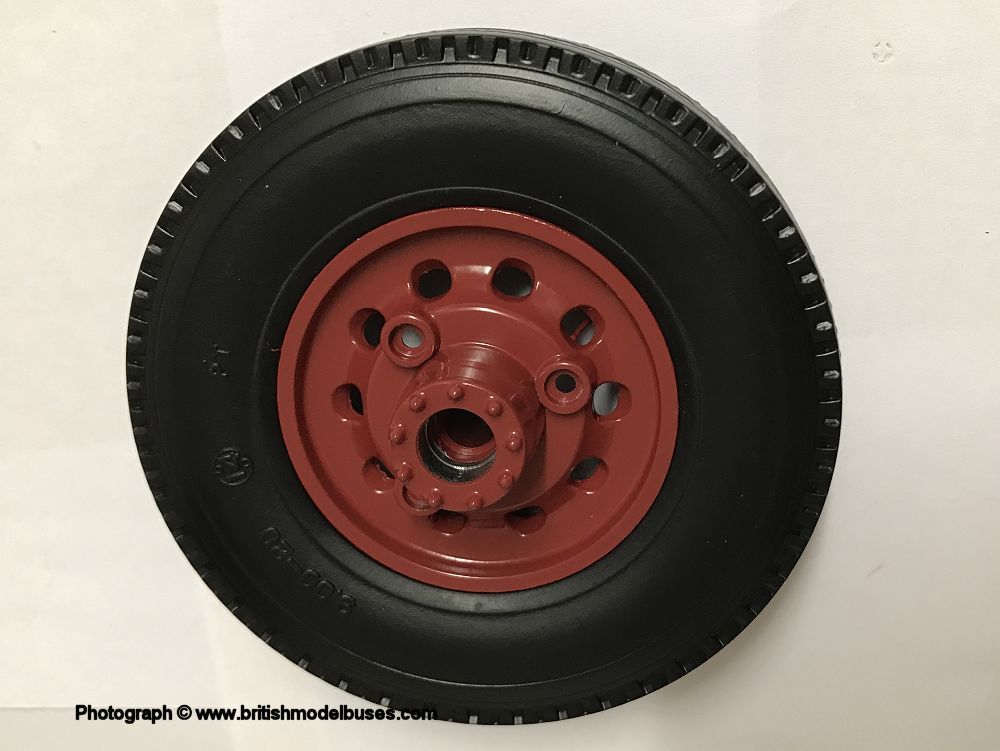
INSTRUCTIONS ISSUE 19 - FITTING THE FIRST PAIR OF REAR WHEELS |
|
|
|
|
|
|
|
|
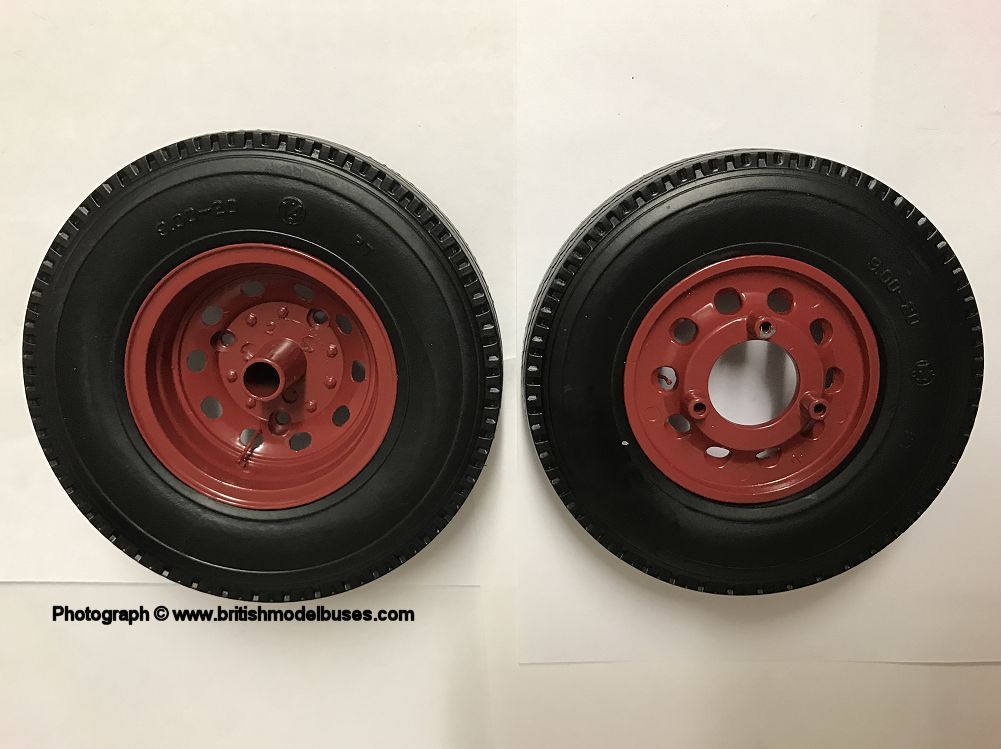
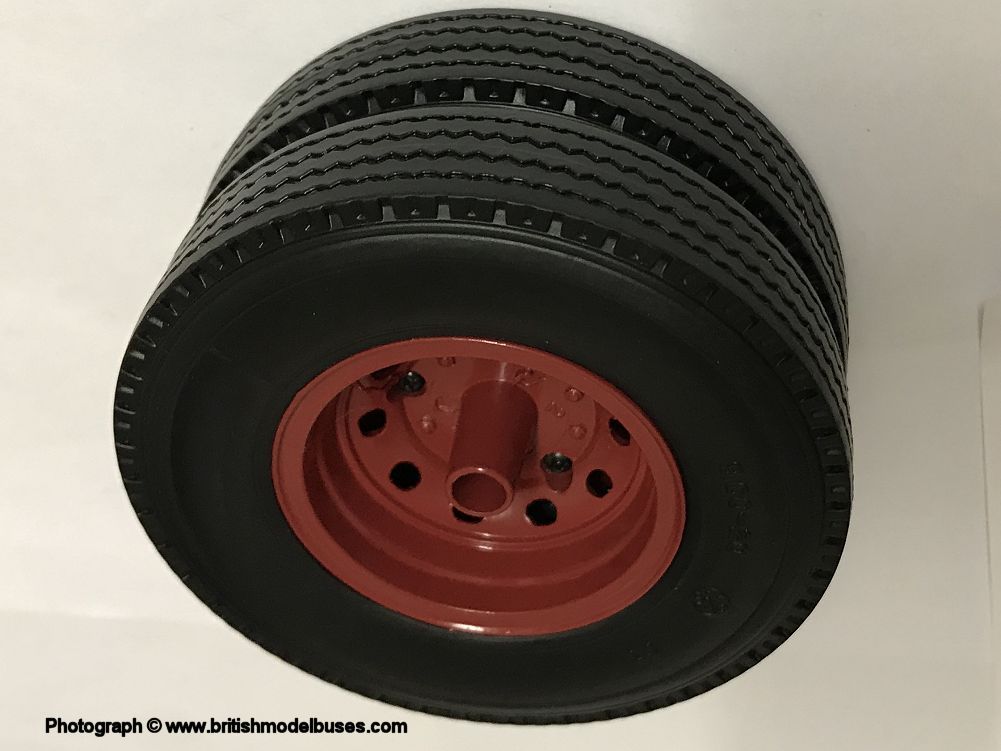
BUILD ISSUE 19 - FITTING THE FIRST PAIR OF REAR WHEELS |

|
|
|
|
|
|
|
|
|
|
|
|
|
|

|
|
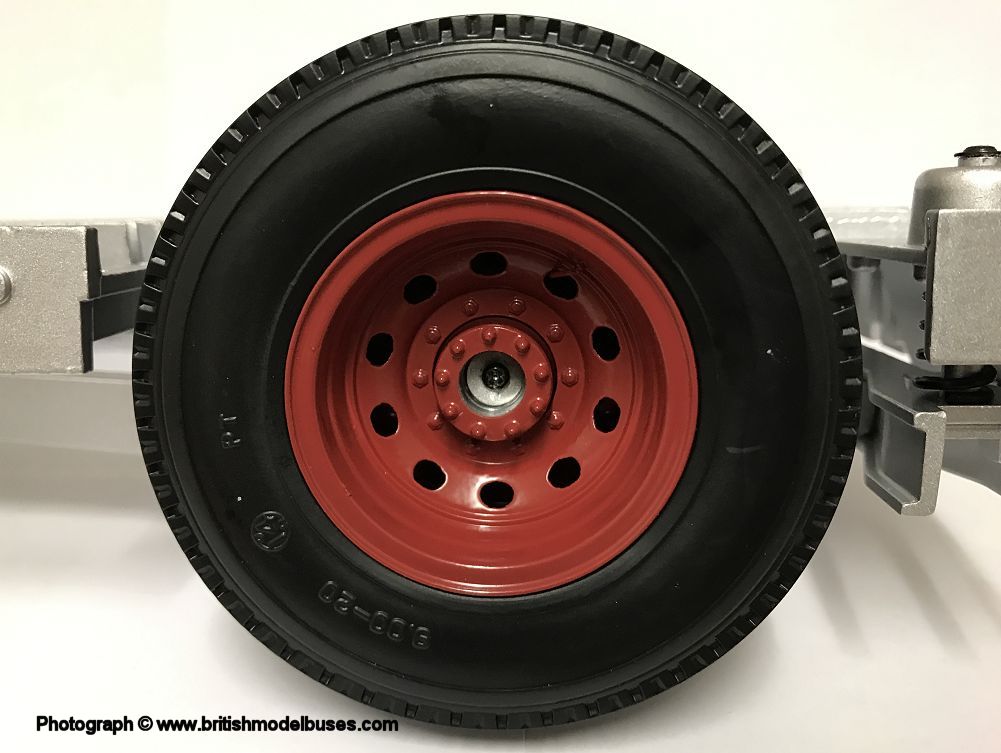
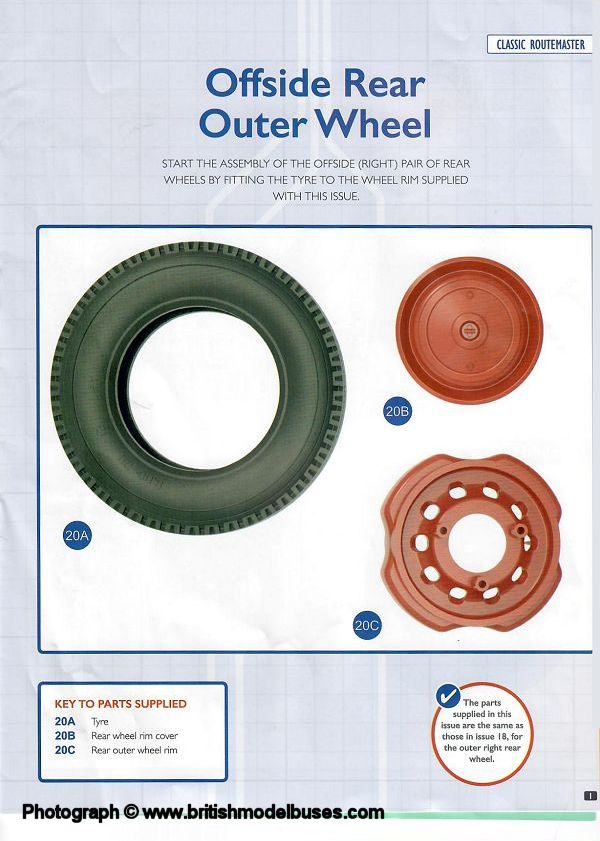
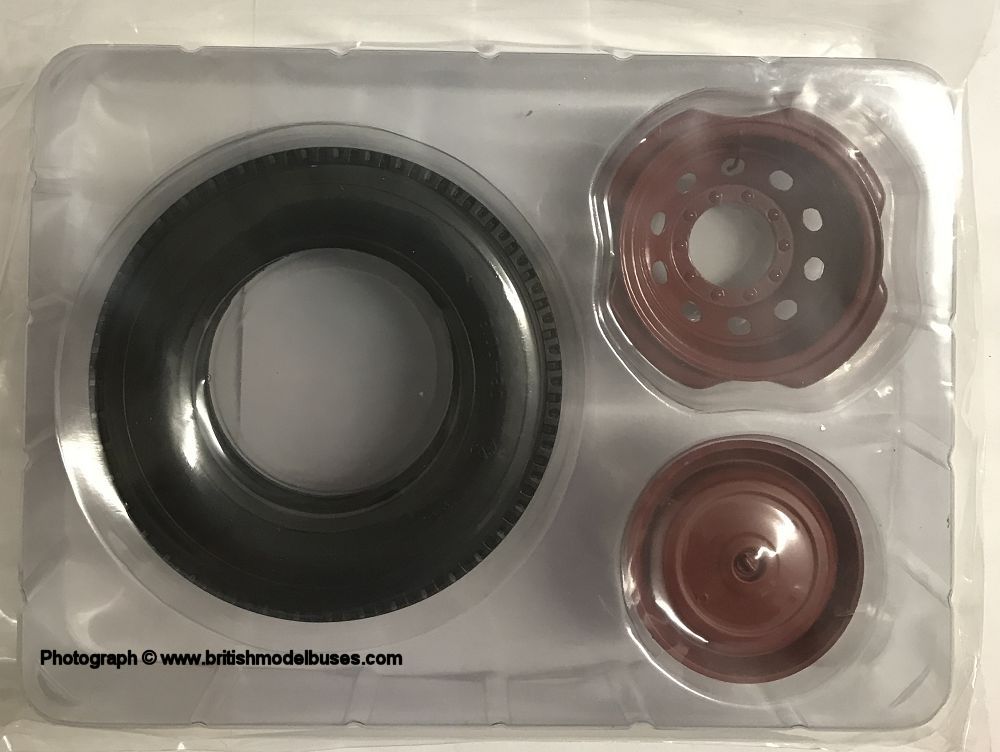
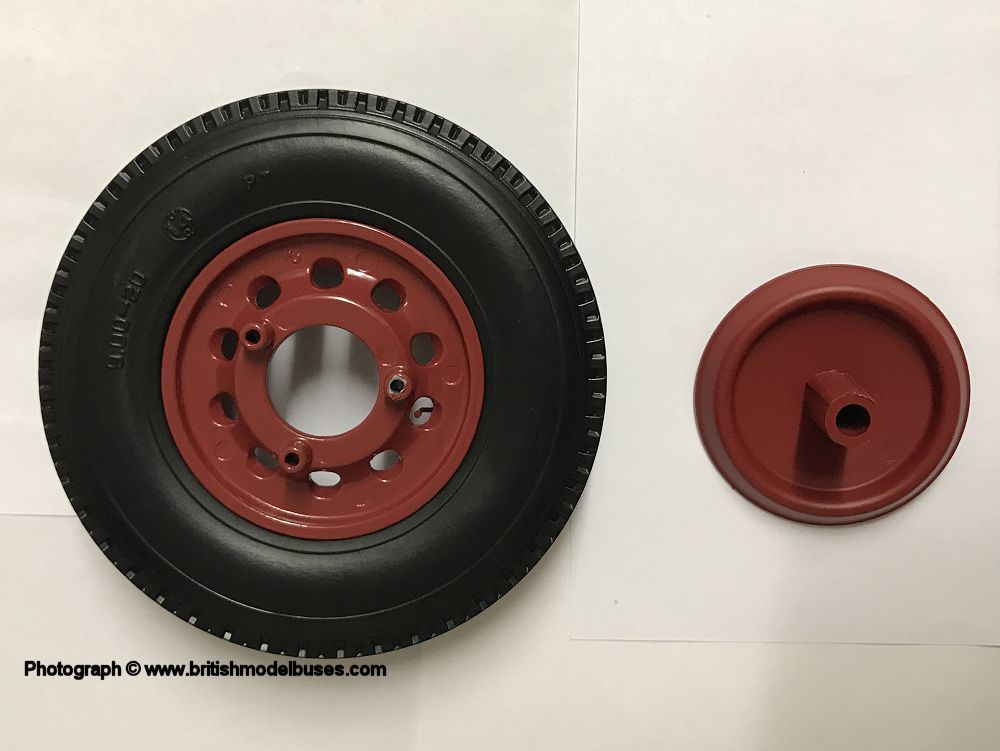
INSTRUCTIONS ISSUE 20 - OFFSIDE REAR OUTER WHEEL |
|

|
|
|
|
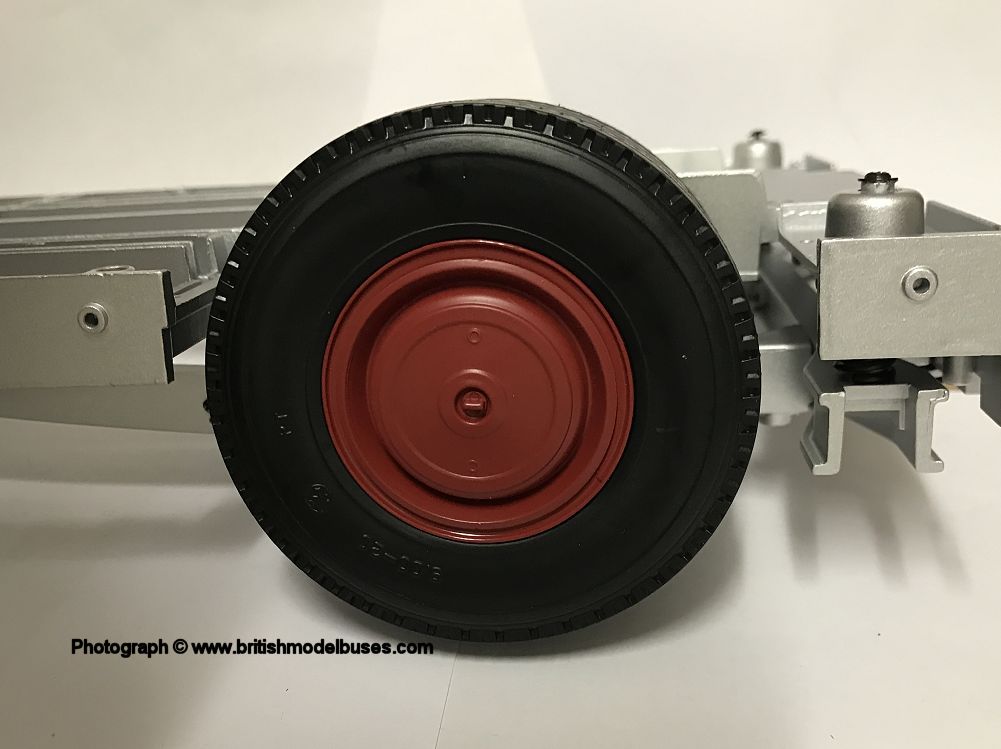
BUILD ISSUE 20 - OFFSIDE REAR OUTER WHEEL |
|
|
|
|
|
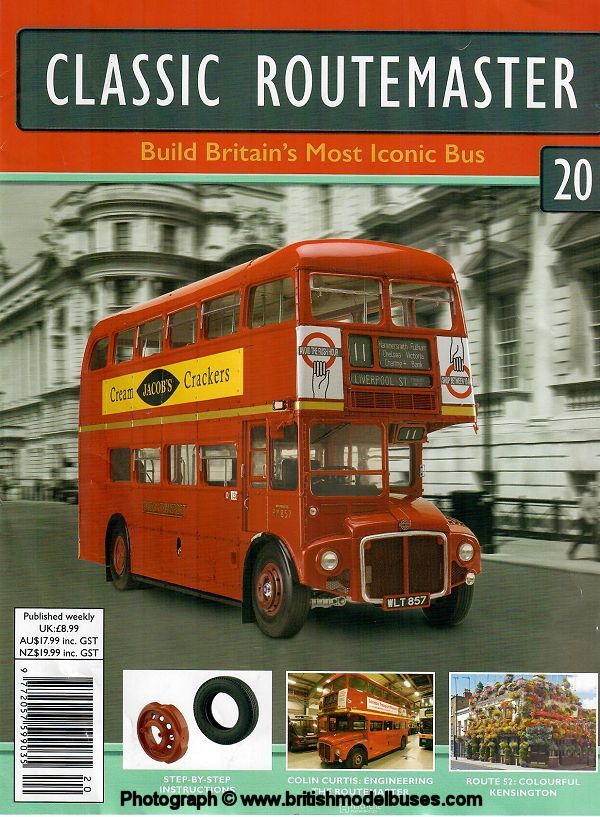
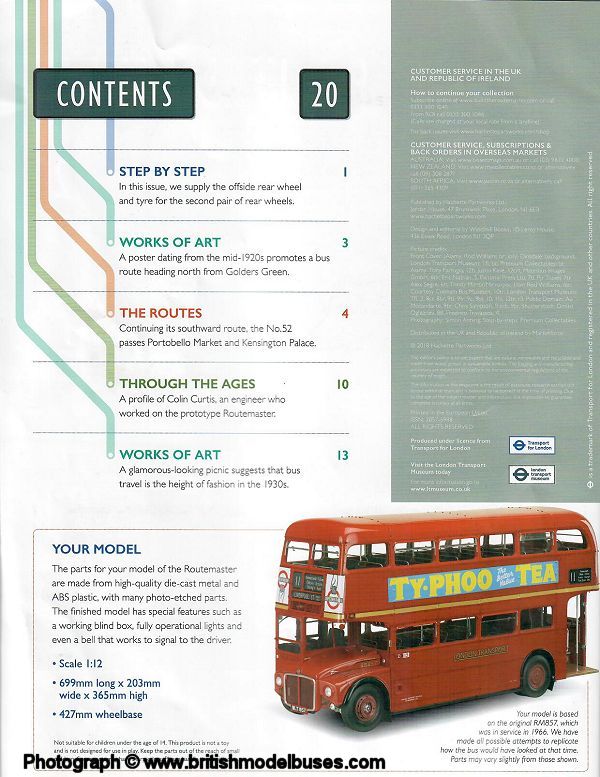
BUILD YOU OWN ROUTEMASTER ISSUES ELEVEN TO TWENTY |
|
|
|
|
|
This page last updated Friday, 24 April 2020 |
| © British Model Buses 2019 |